


Hello and welcome to this small tutorial. It has been a while I did not post any of my DIY leisure time, “weekend” projects, so here I am again.
Today I am here to show you what you could do with a Cookies tin. In this case I am referring to a big bulky one made of metal.
The idea came after eating the cookies of course, it seemed to me like a shame to get rid of such a great metal tin, so I kept the tin in the storage room for quite sometime until finally I got the idea…a TV box for my mobile.
The good thing is that the tin already had a rectangular section open (that is actually the thing that gave me the idea). I thought, I could just place my mobile inside somehow, mount a lens in the front hole and bingo, I got myself a new cinematic experience just a matter of 10 minutes job…hell…not….turns out I had to spend a couple of hours actually!
But in any case, here is how it happened.
So first of all, let me show you the tin:
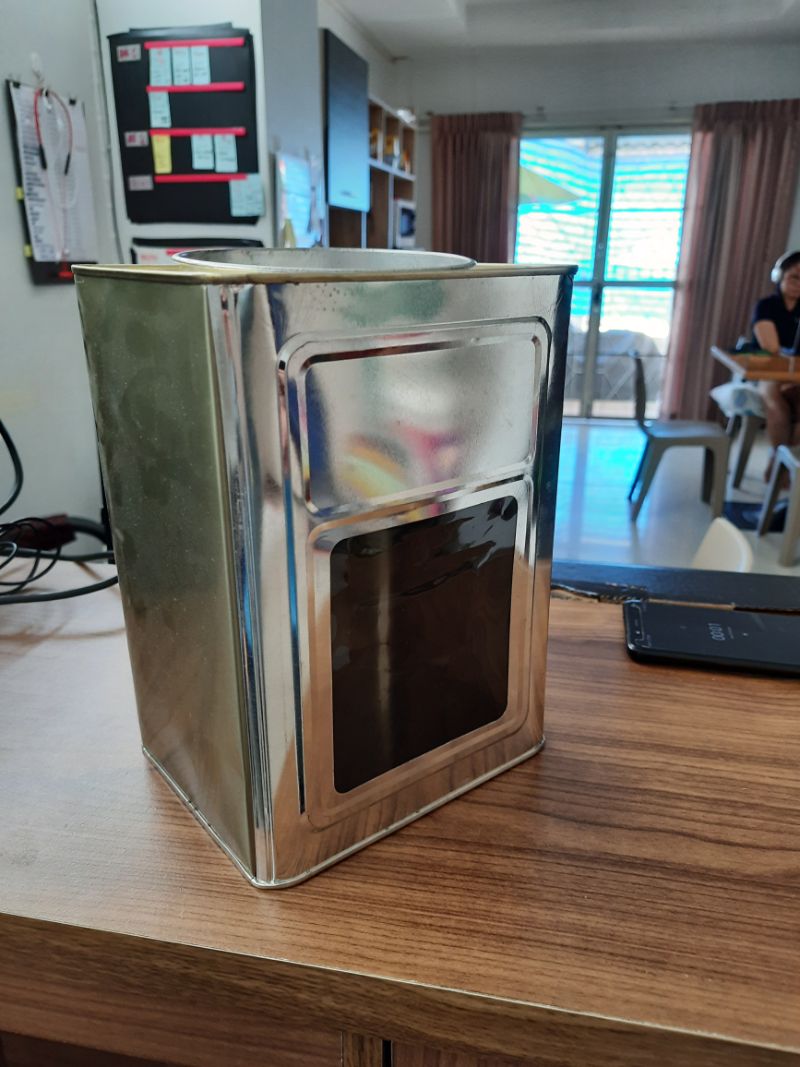

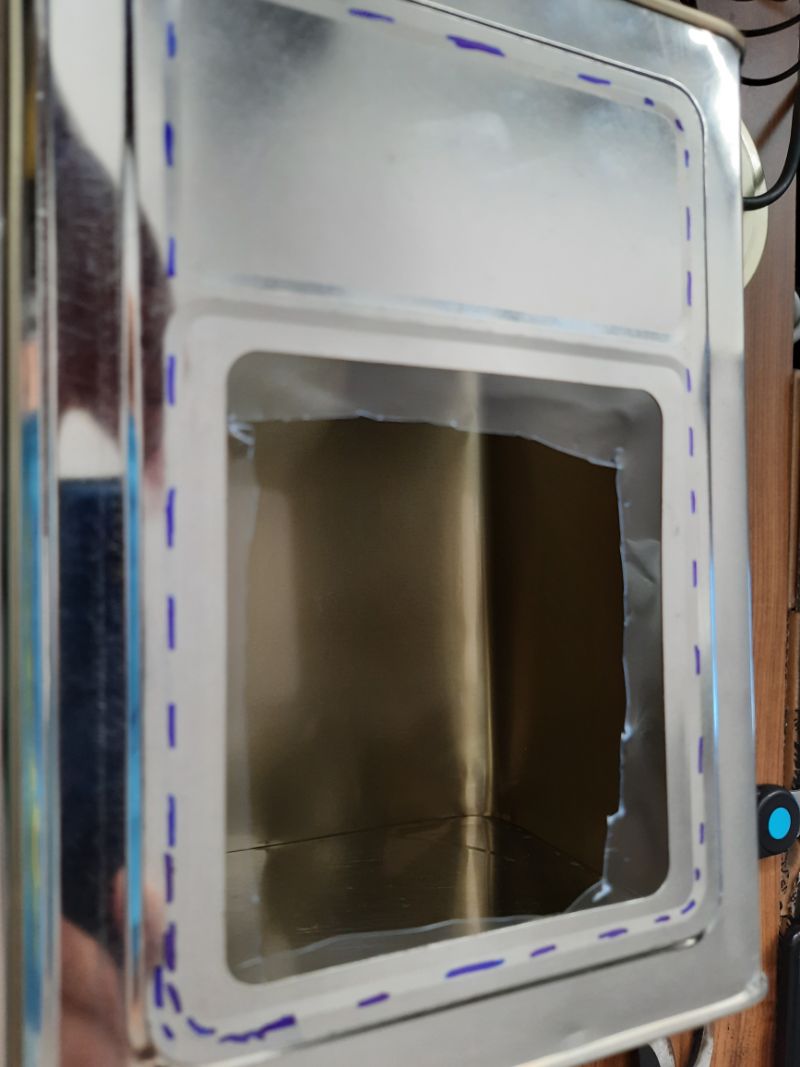
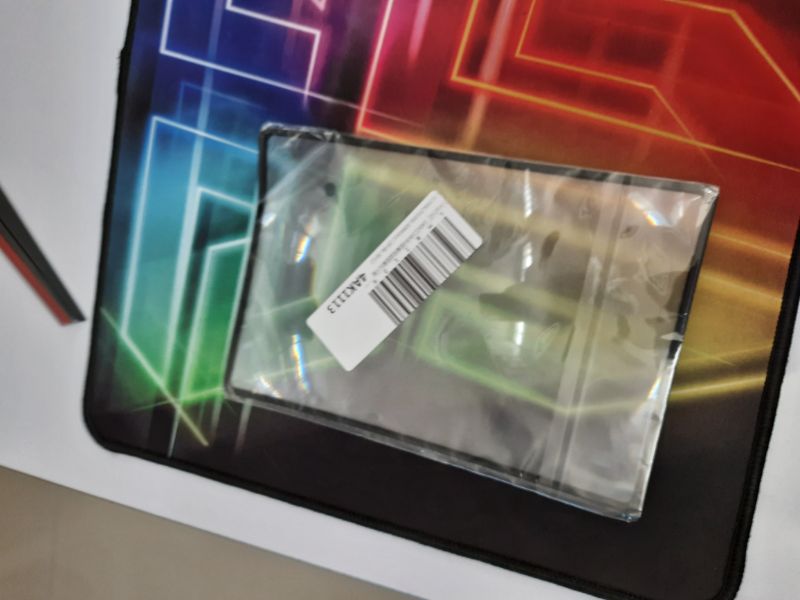
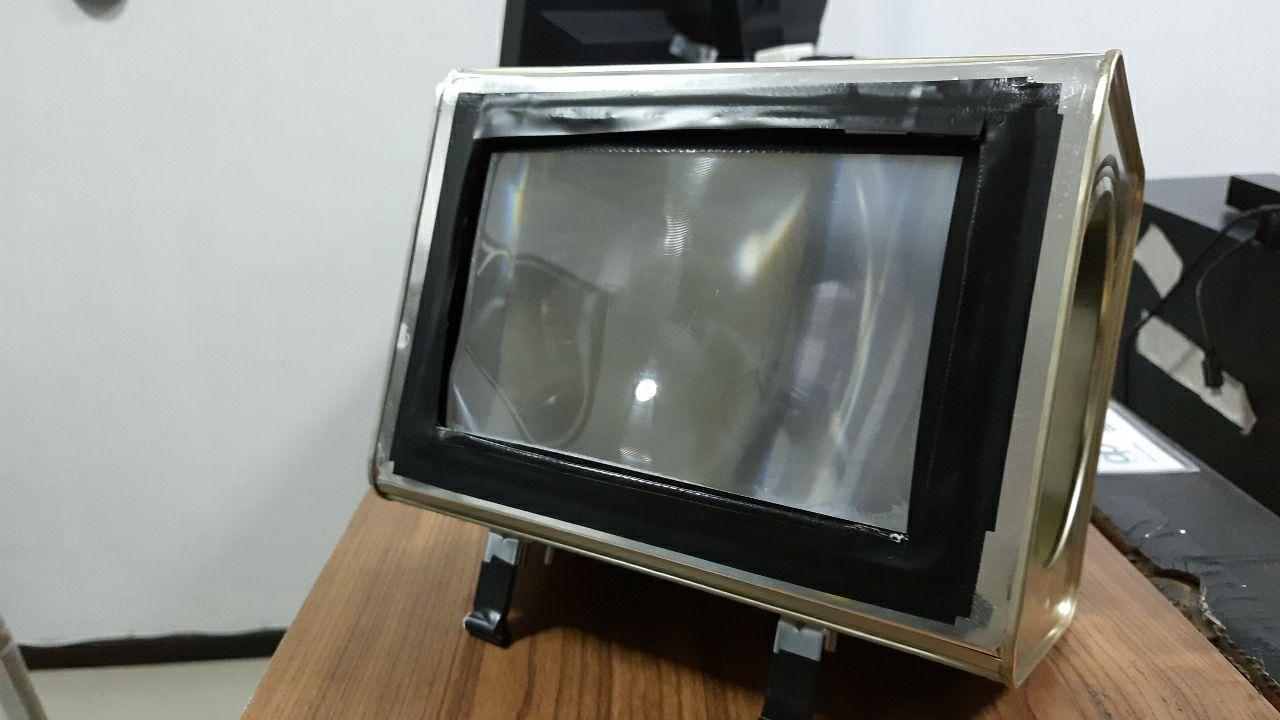
You can see the section in the front with an opening and a transparent plastic sheet that originally allowed to view the cookies. My idea was to replace the plastic sheet with one of those lens sheet, I am not sure if you are familiar with what I am referring to, but here is the image so you can see for yourself.
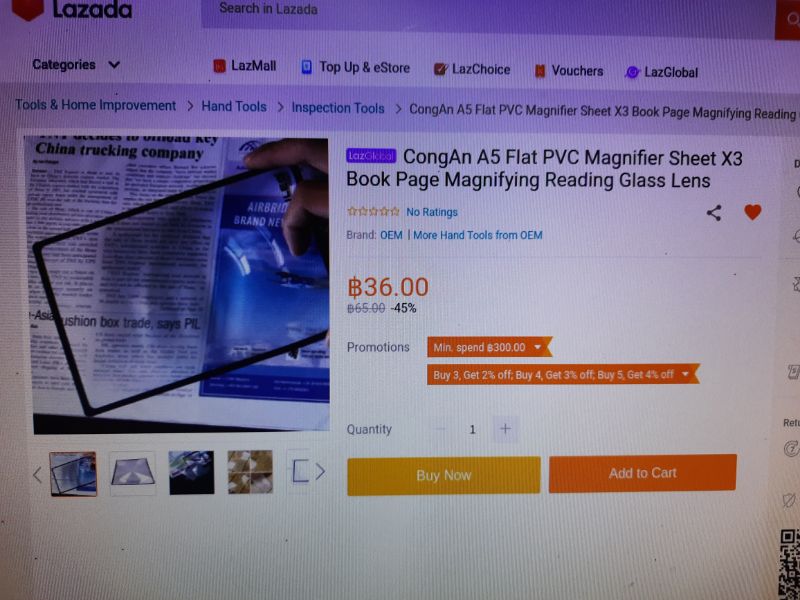
On a side note: when, after the initial excitement, I realized that I did not actually have the lens with me, I had to place this project on old for about 10 days while I ordered one out of Lazada (South East Asia Amazon type ecommerce online).
Finally today It arrived so I said, why not, it’s a Friday, I will wait after 5pm when I am done with my daily duties and then I will go ahead with the plans …so I did.
Measurements
First thing first: I started verifying the measure of the lens sheet with the open side and immediately noticed that it was bigger than the hole. I must admit that when I had ordered the lens I just briefly read the measurements and instantly decided that it was perfect for the job….indeed, it turns out that bigger it is actually better..however, I had now a new task on my list; Enlarge the front opening.
Opening in the front side
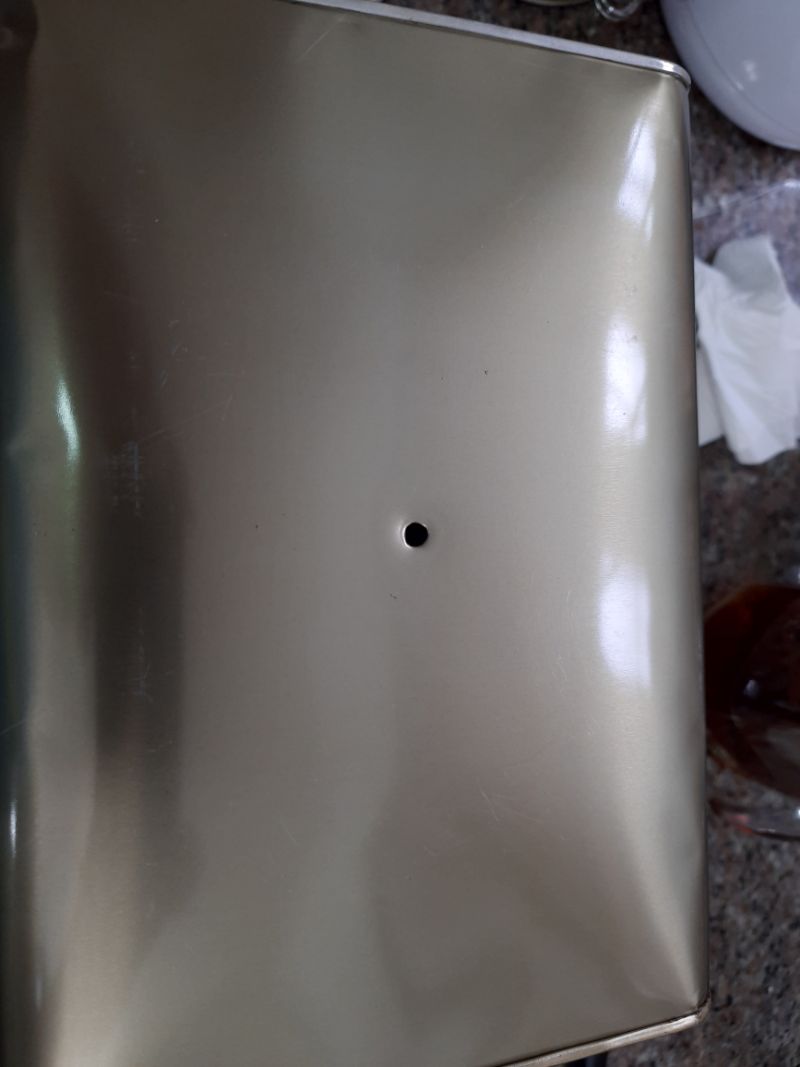
Let’s start by saying that the tin has also a round opening on the top (see picture of round opening on top) which will then become the side opening for your hand to place the mobile. This opening is perfect, it is made from manufacture and do not require any attention, my hand can easily operate in and out.
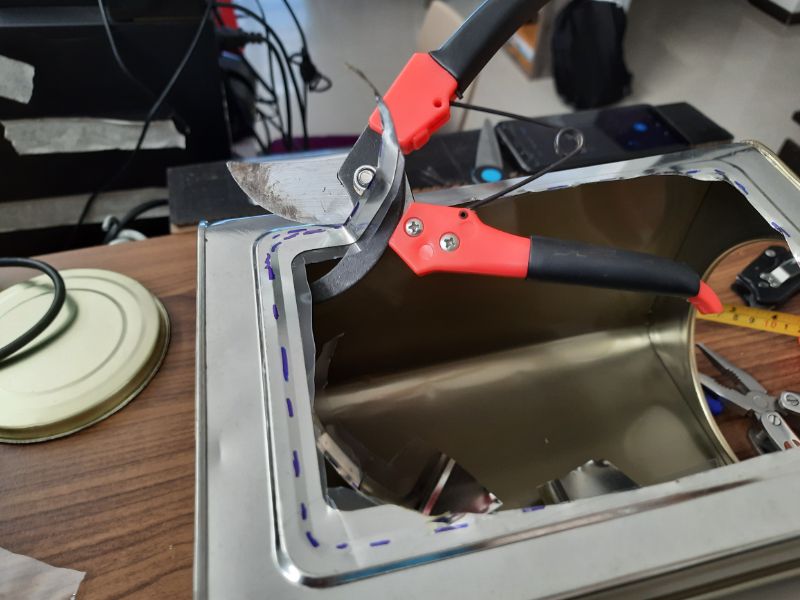
As for the front opening for the clear lens sheet, first I’ve marked the portion of the metal that I had to cut, then I went in the back of the house and gathered some simple tools from my tool box. For cutting the metal I have found out that my wife’s plant cutter (one of those used in gardens) was perfect, those blades cut the tin with no problem.
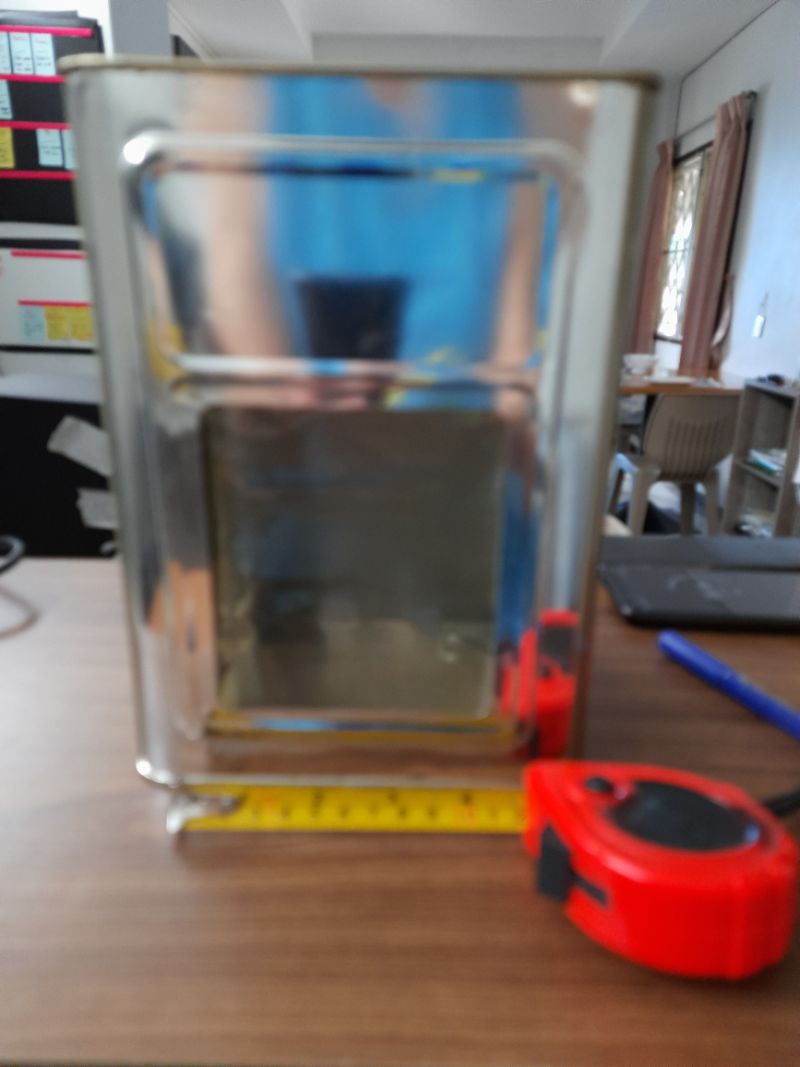

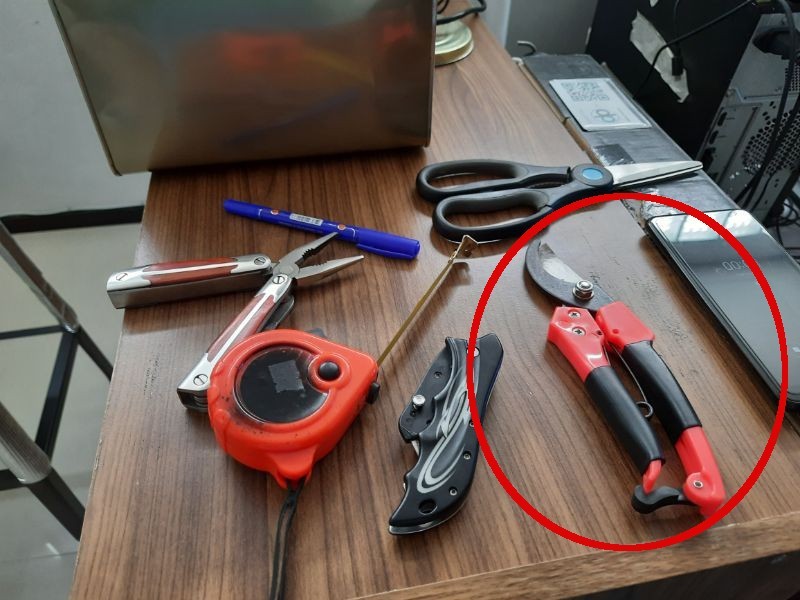
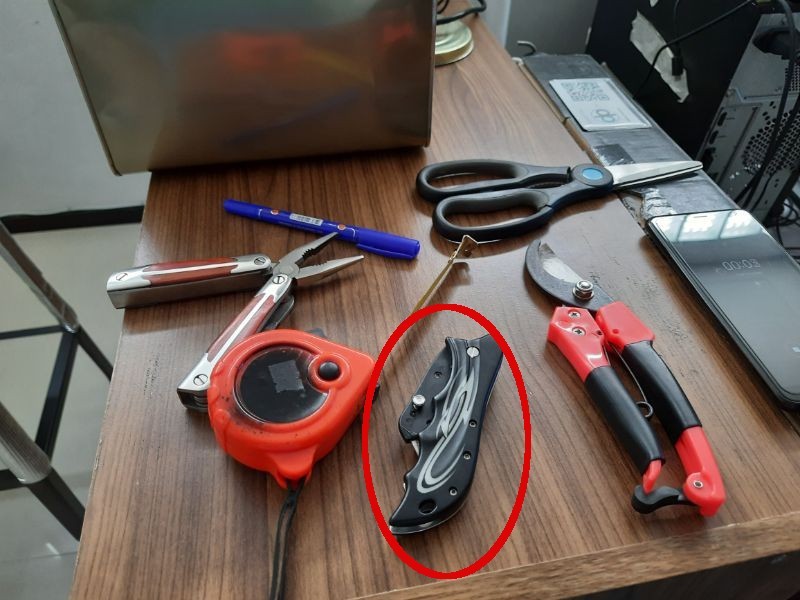
So now it was time to remove the clear view plastic sheet. For that I have used a simple but very efficient carpet cutter. perfect, now I can start cutting. That was not so easy as initially thought, when cutting you have to make sure you do not apply too much pressure at the tin as otherwise its very thin metal will bend, hence living a mark which I do not wanted….so I had to still apply pressure…but very carefully.
Markings
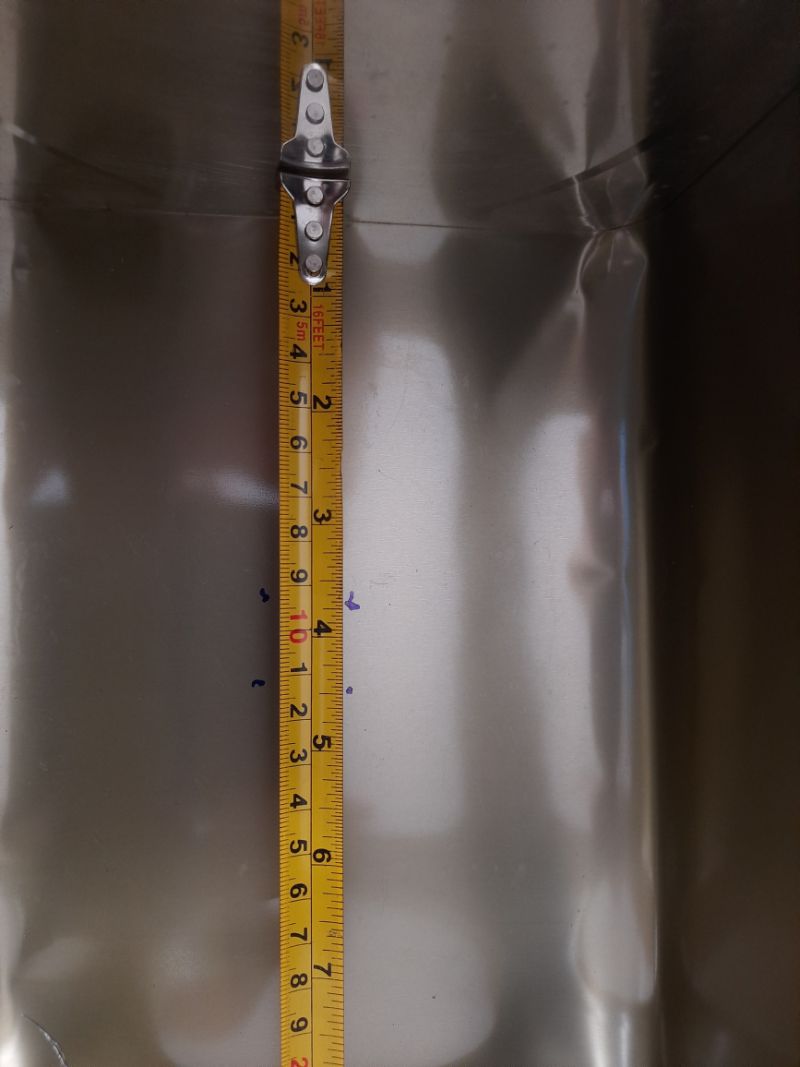
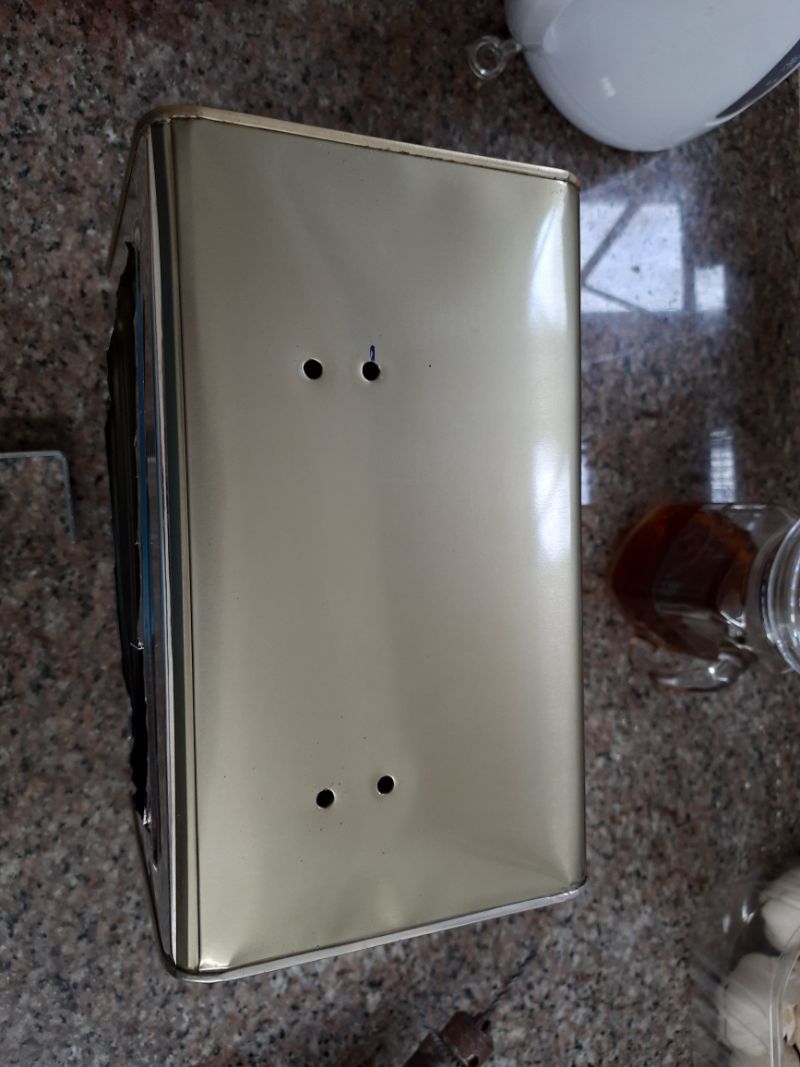
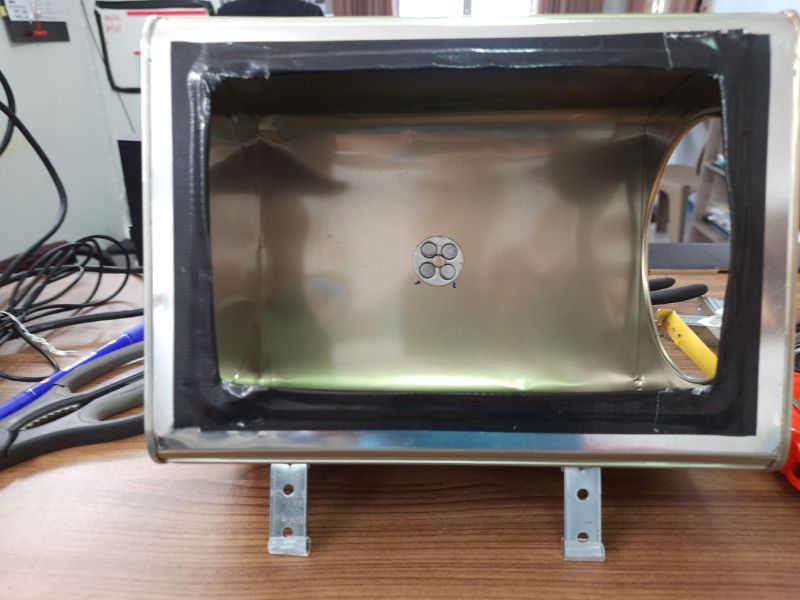
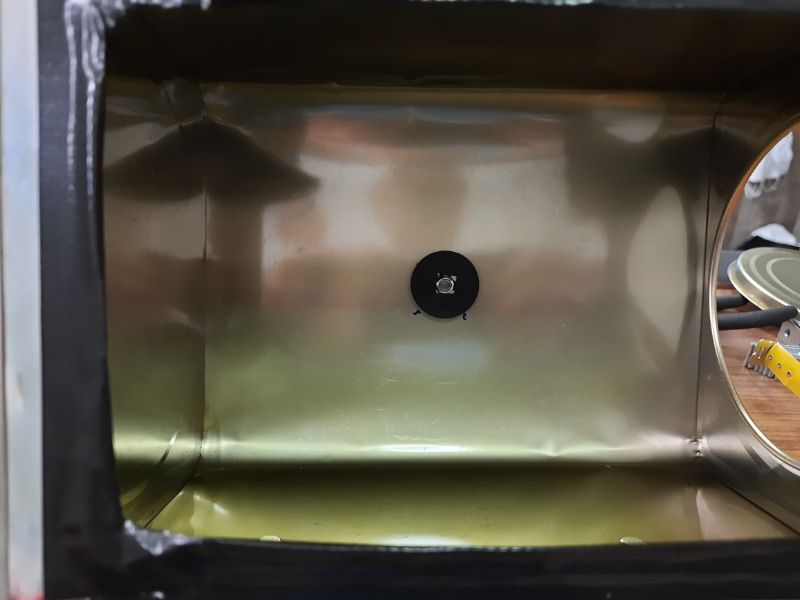
I have used a CD marker to mark where to make the holes for the phone holder right in the middle of the back side facing the hole.
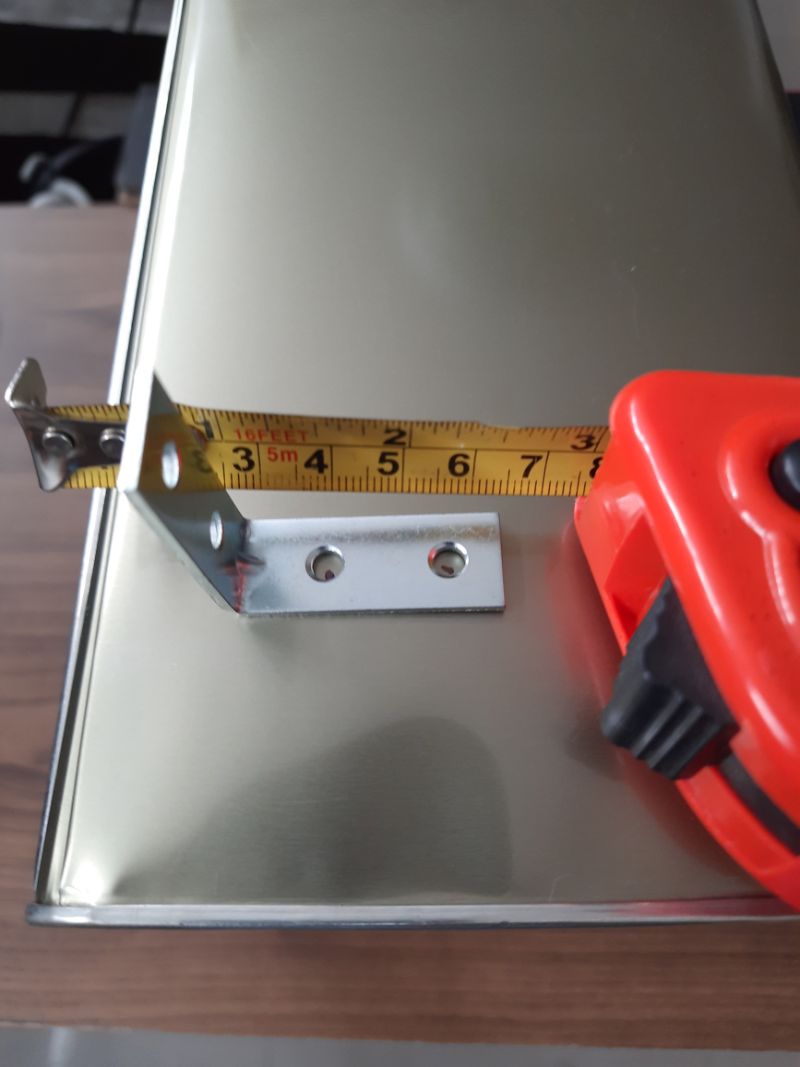
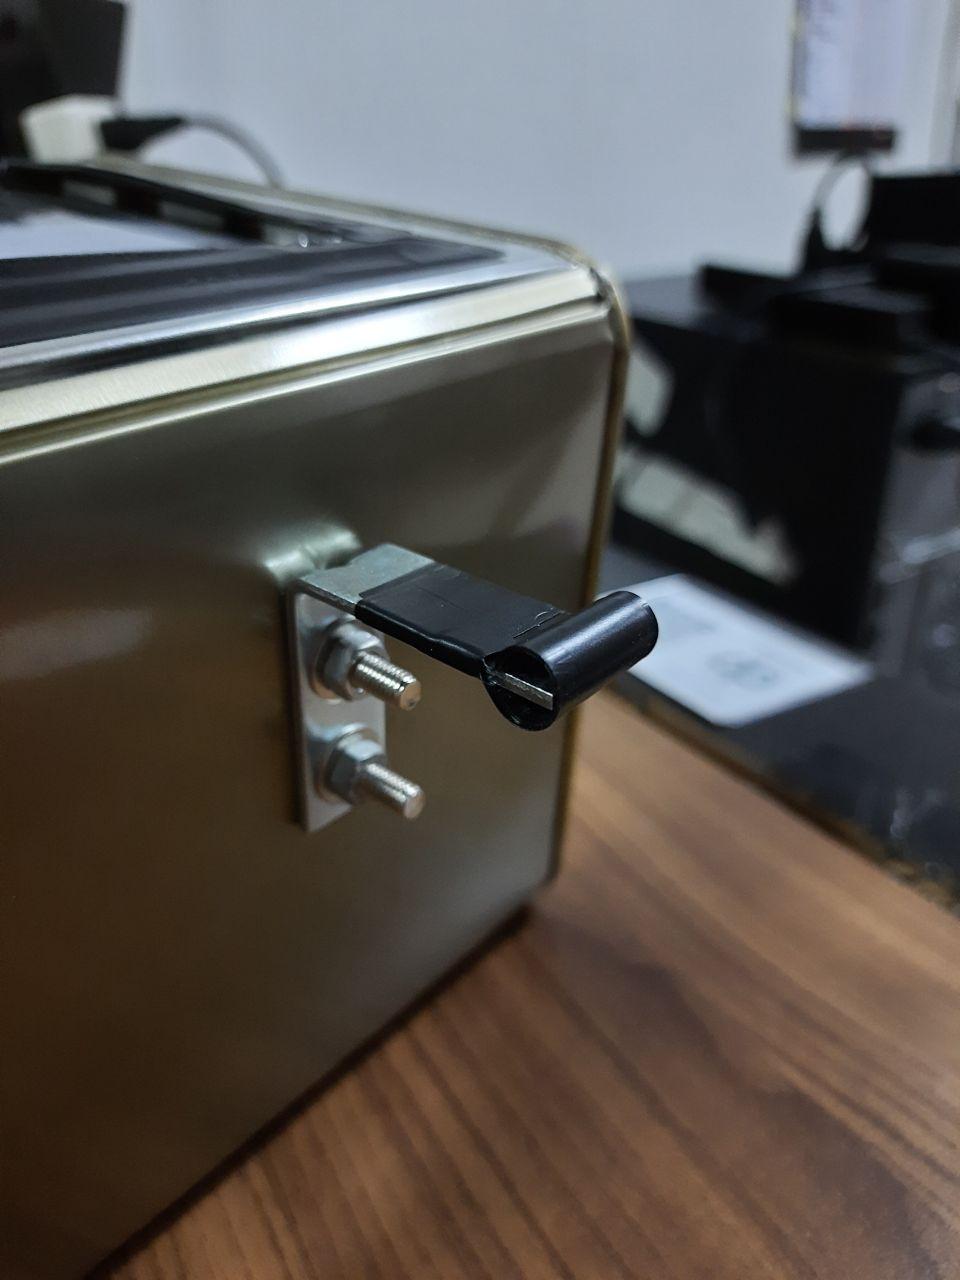
Then I continued by marking the holes for what it would be the legs of the TV box. the legs are made by metal 90° Angled plates of about 3.5 cm on each side.
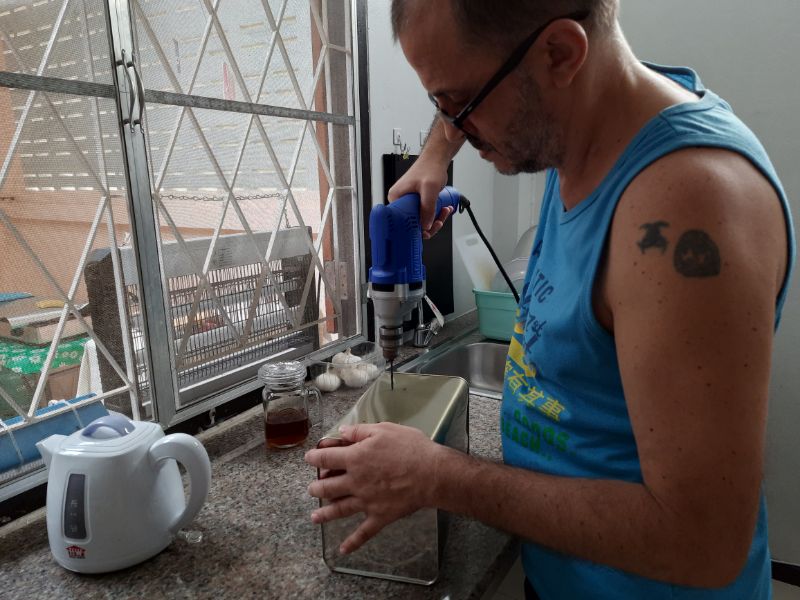
Making the Holes
Once again very careful here not to push too much if you do this type of job as the opening in the front has made the tin even more prone to get damaged or bent, so applying pressure yes…but with moderation.
Road block
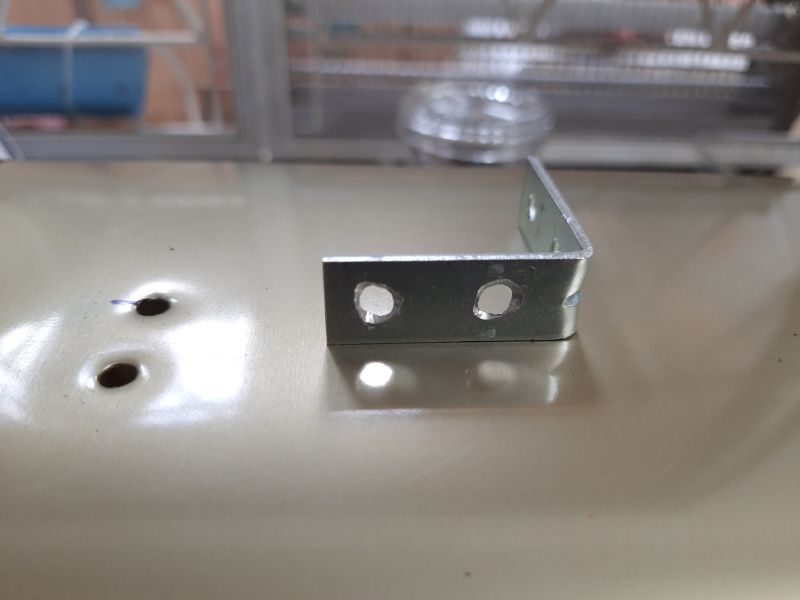
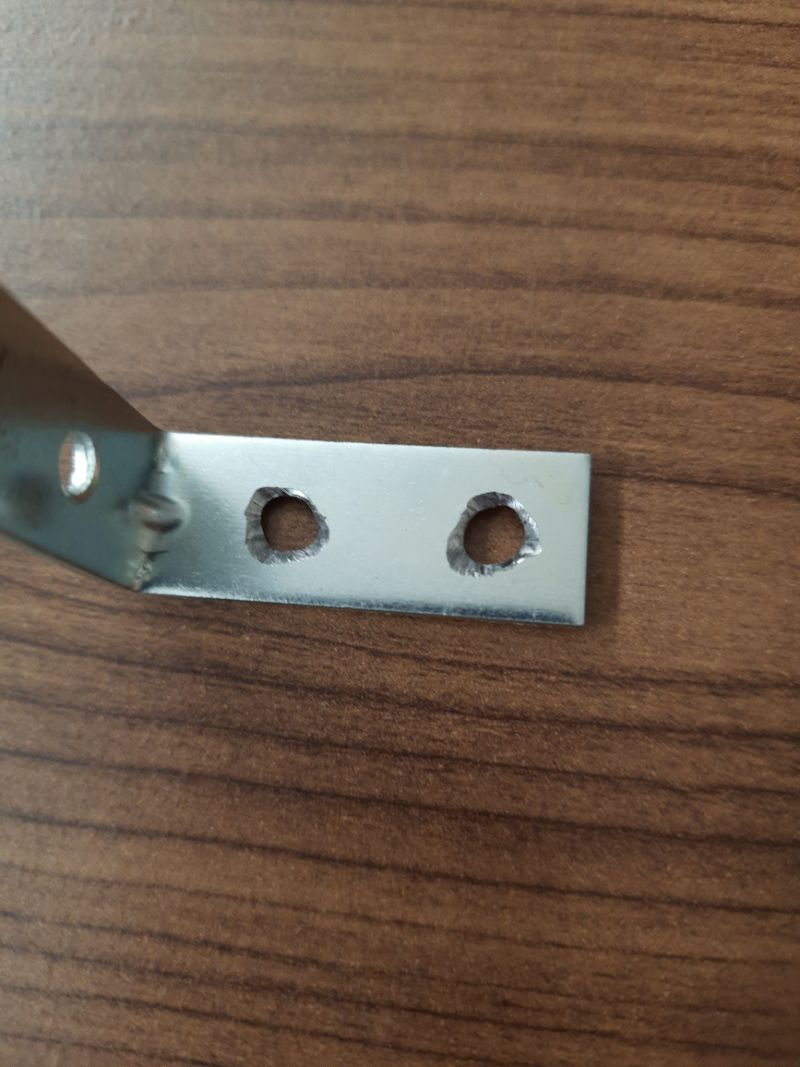
Oops….the screws are too thick for the metal plates holes. Well, since that I have still the drill in operation, let’s enlarge the holes by using the power of “friction” for this, I just use the drill at medium or low power and twist sideways the rotating drill bit in the holes applying enough pressure to have the latter to function almost as a vice sort of thing, see the image below.
Safety Safety Safety
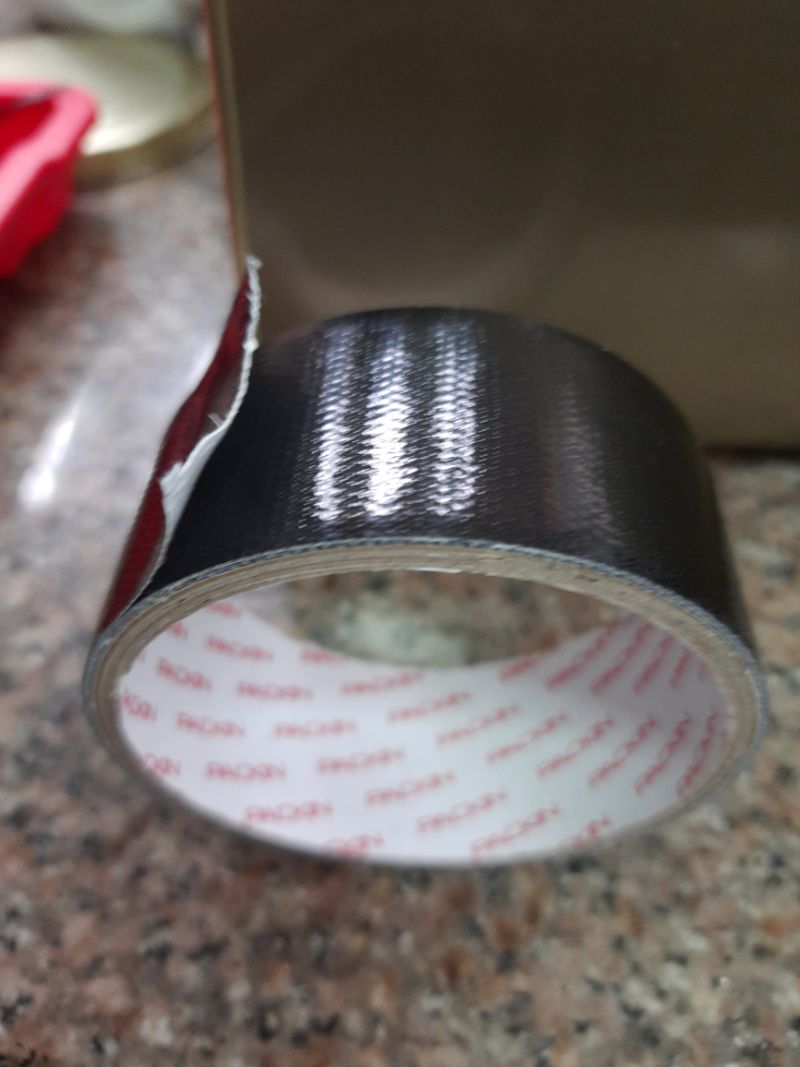
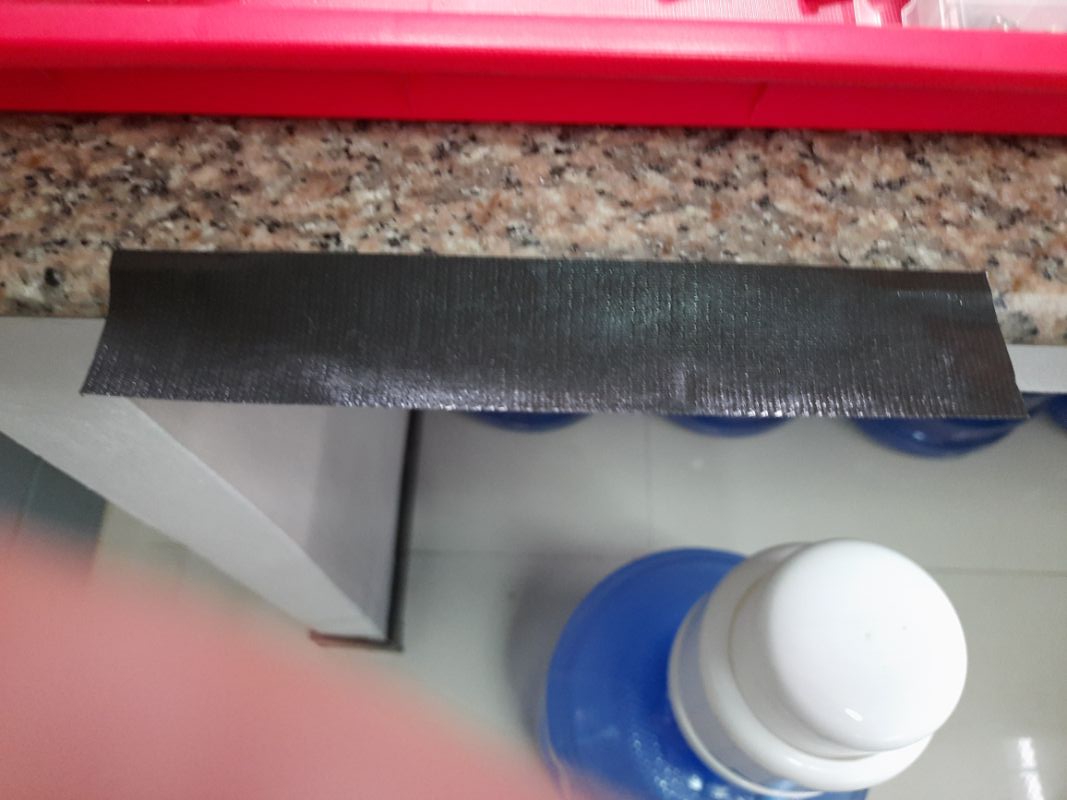
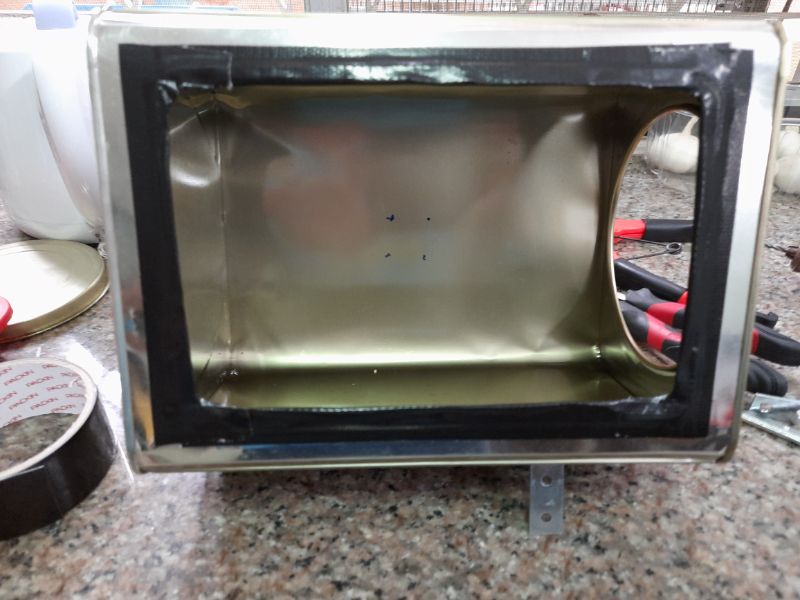
I’ve almost forgot to mention. Be extra carefully when cutting the metal as the side where you apply the cut will be as sharp as a razor and can cause you a severe cut to your hand or fingertips. What I did is basically cover the sharp edges with duct tape.
Building the mobile holder
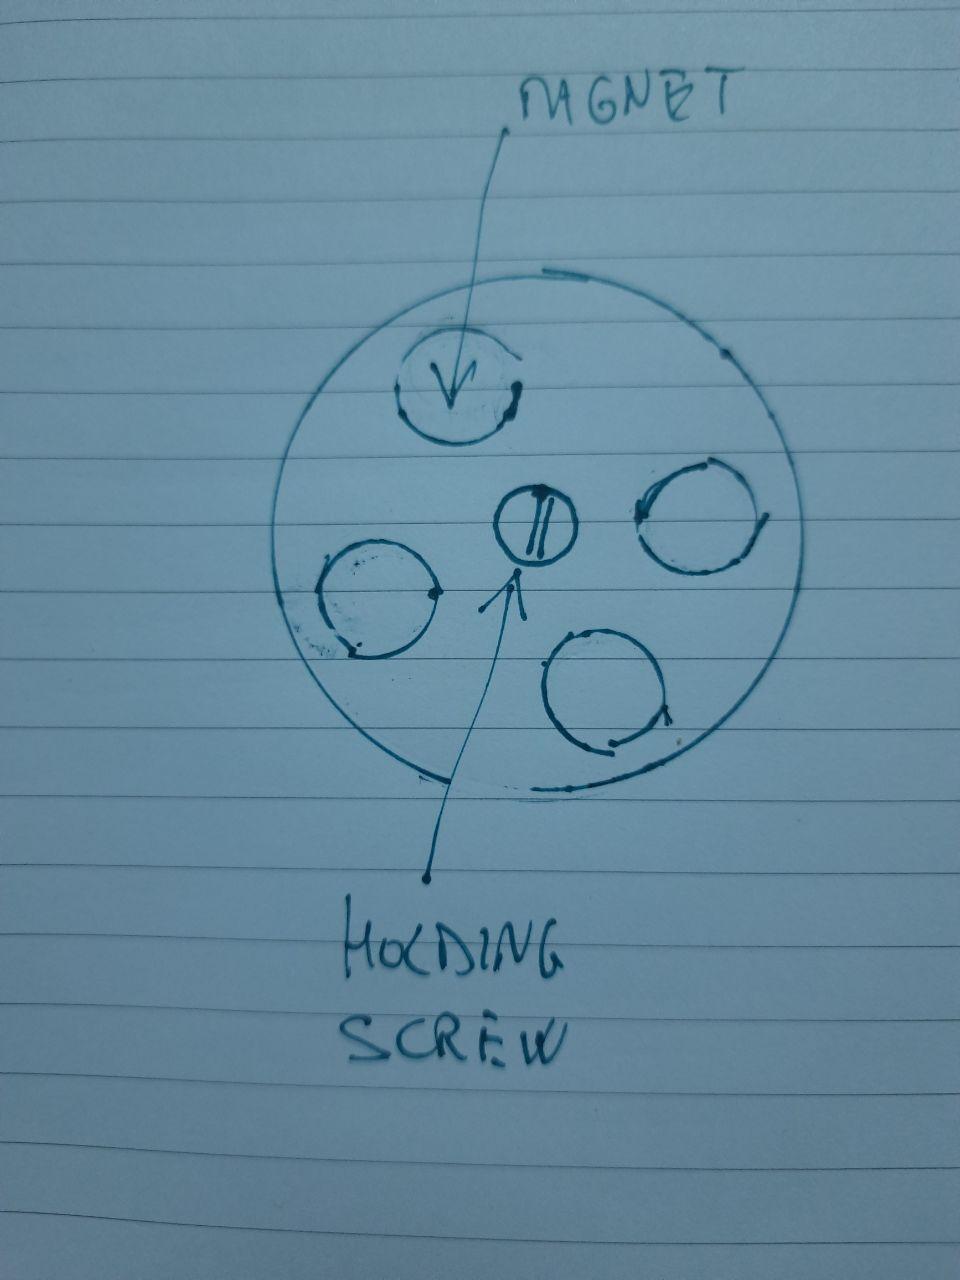
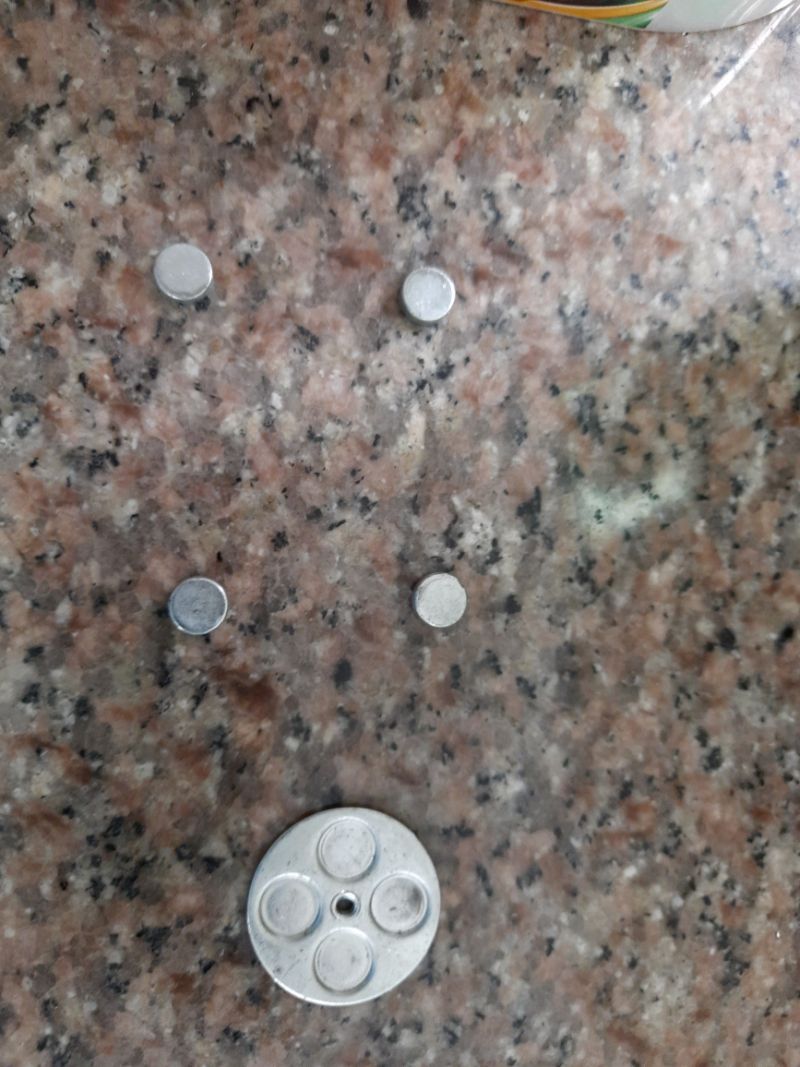
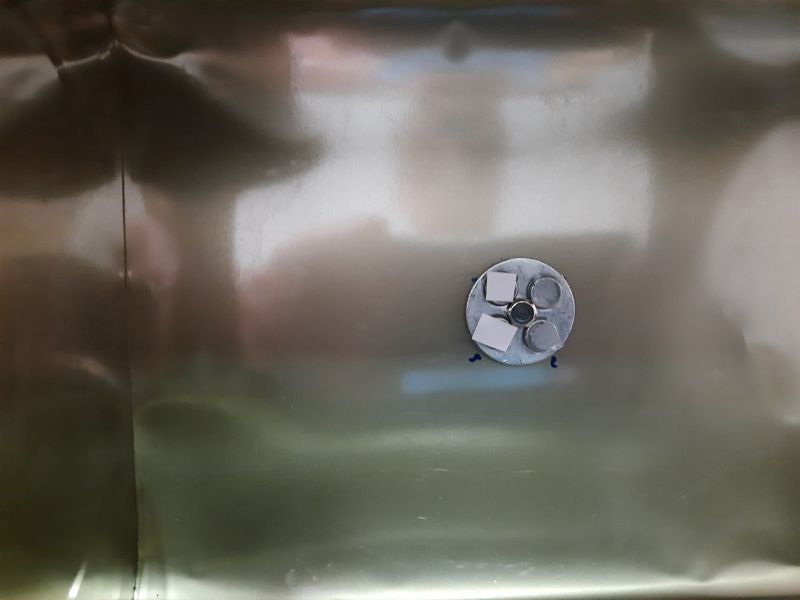
For this, after carefully revising what I had in my tool box and storage room, I decided to go for magnets. I have found 4 small magnet of about 5mm in diameter, so i toke some time and together with a cup of good coffee I draw a quick sketch of what I could do with it, ho…and yeah, I did not use AutoCad or Sketchup to do the drawing 🙂
The round metal plate was a bit small but in the end I managed to make the hole in the middle and to mark where the magnet will stay by pouncing it with an heavy duty hammer, this should prevent the magnets to come off easily, I then drilled the hole for the phone holder to be fit in the inner back side of the tin. Finally I screwed it in place.
The rubber feet
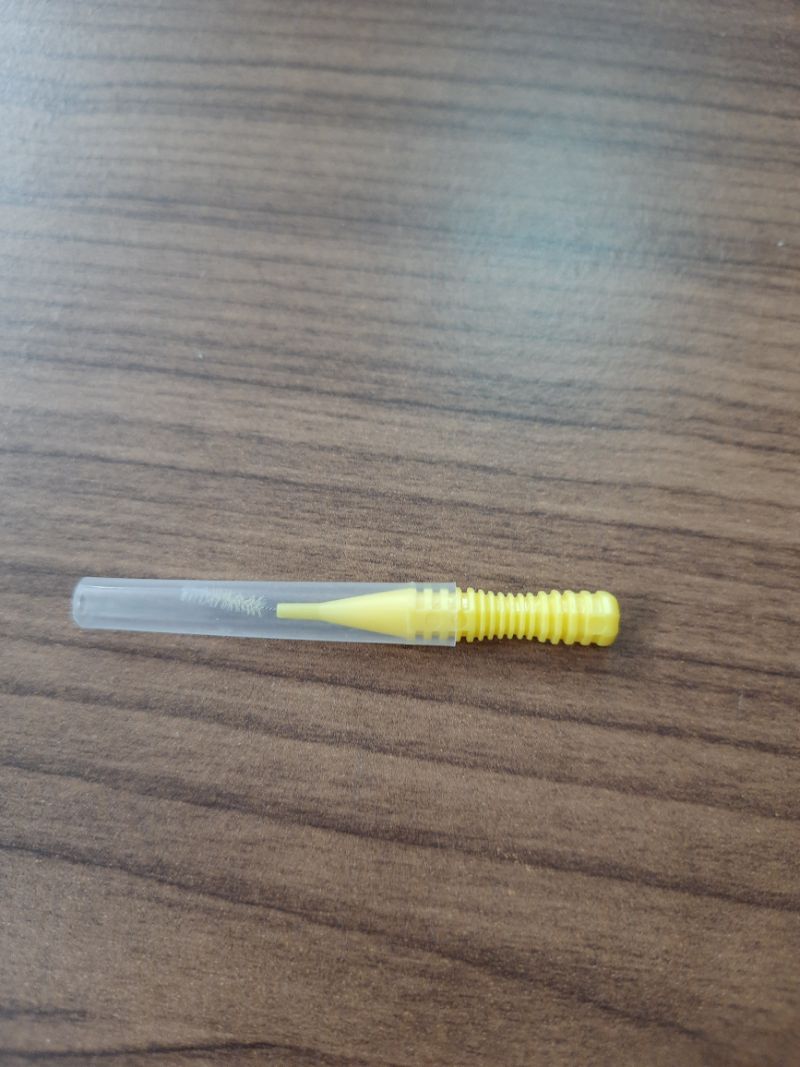
As I noticed that the metal plates I had used for the legs were very sharp I had to improvise some sort of rubber fit….a quick look around and here is what I found. The cap of this dental brush was perfect for the job.
The mobile phone setup
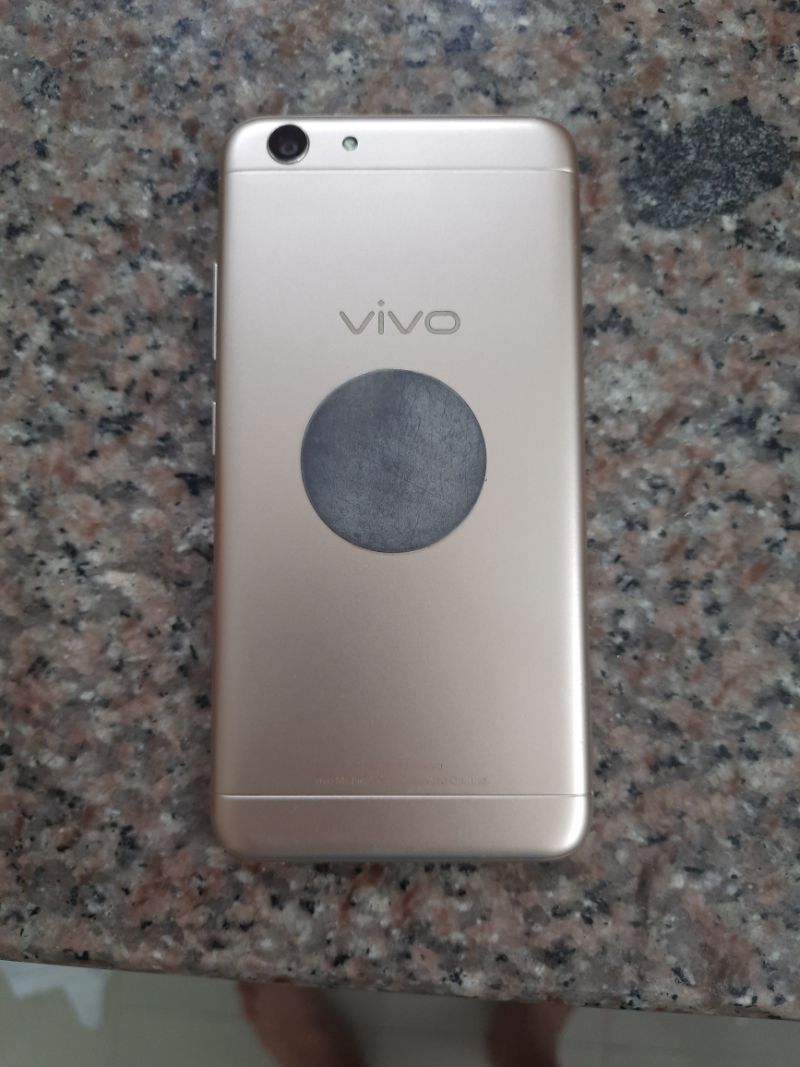
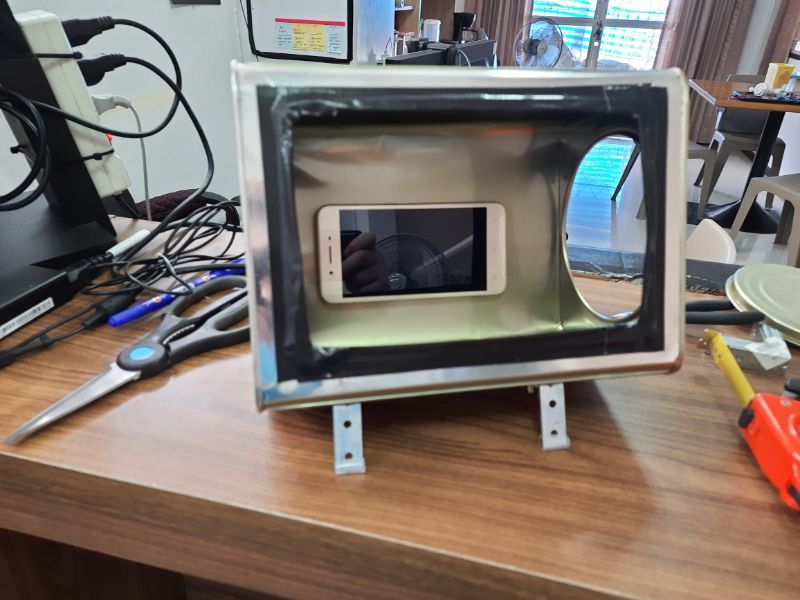
Now we have the magnets holder on the tin but we need some metal on the phone to make it work. Pronto…just another look at my toolbox and here it comes an old metal disc of good proportions. To test I’ve just stick it with a bit of double side tape on the back of an old phone that I rarely use. It’s starting to get some shape. Still a bit rudimentary but the phone is hold properly and it is easy to access.
Second road block
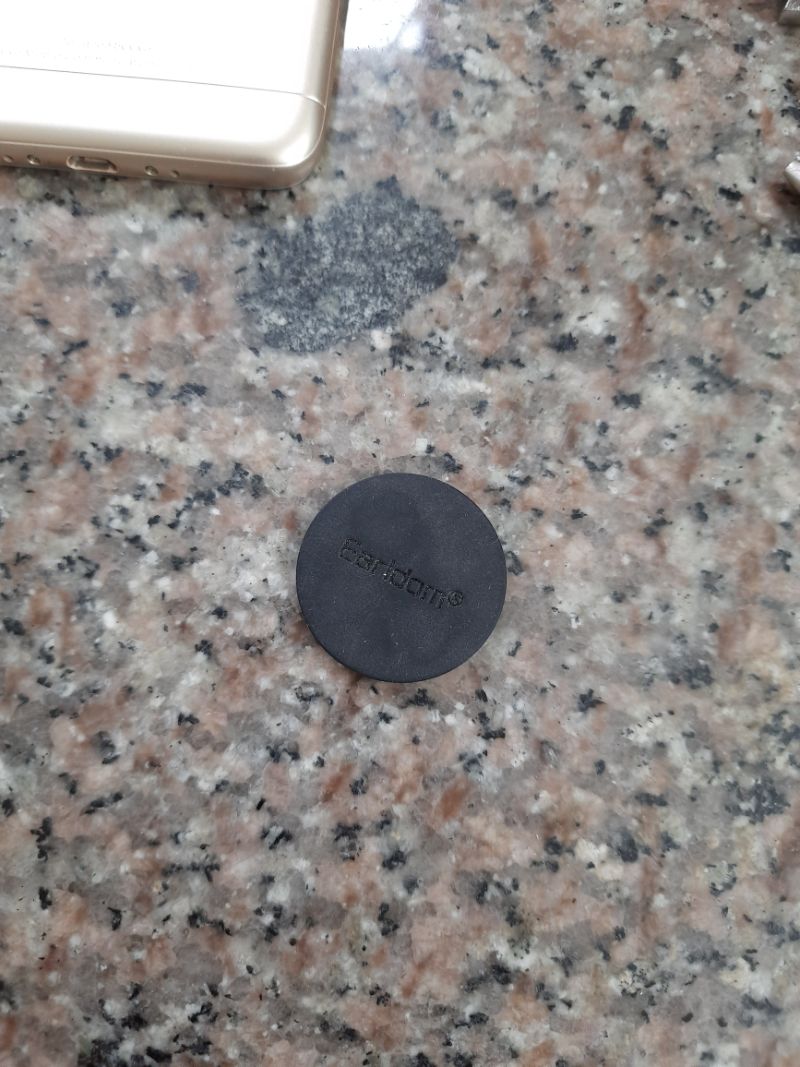
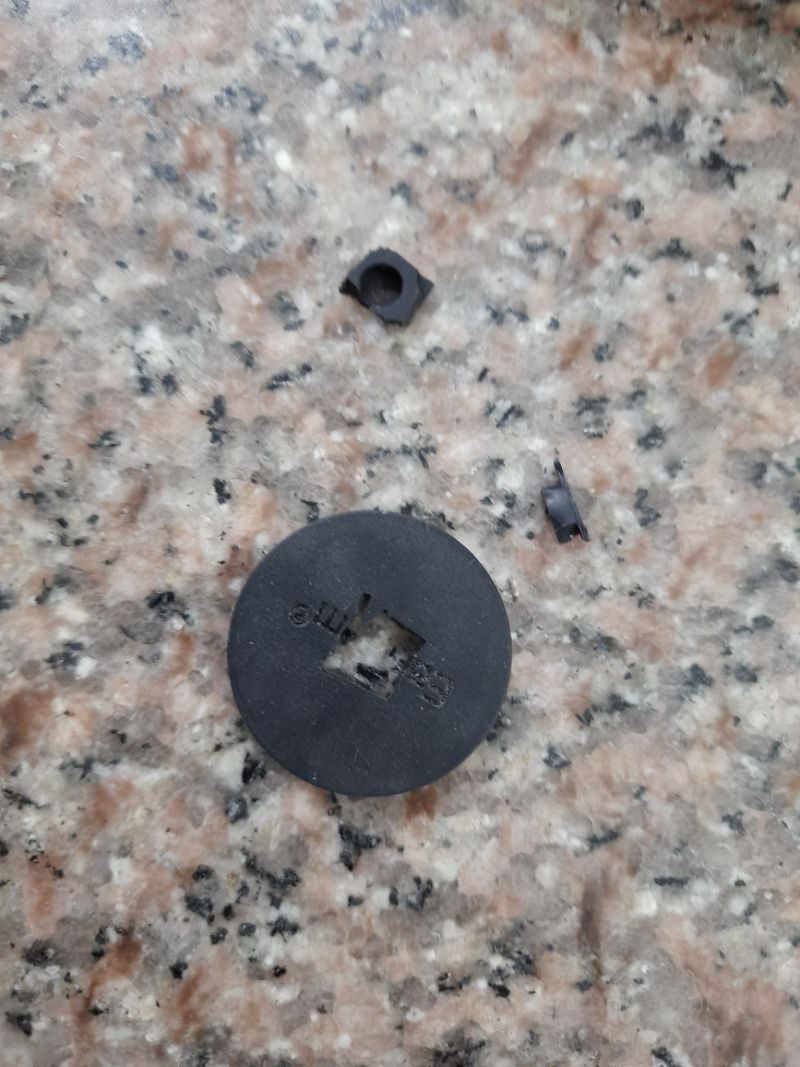
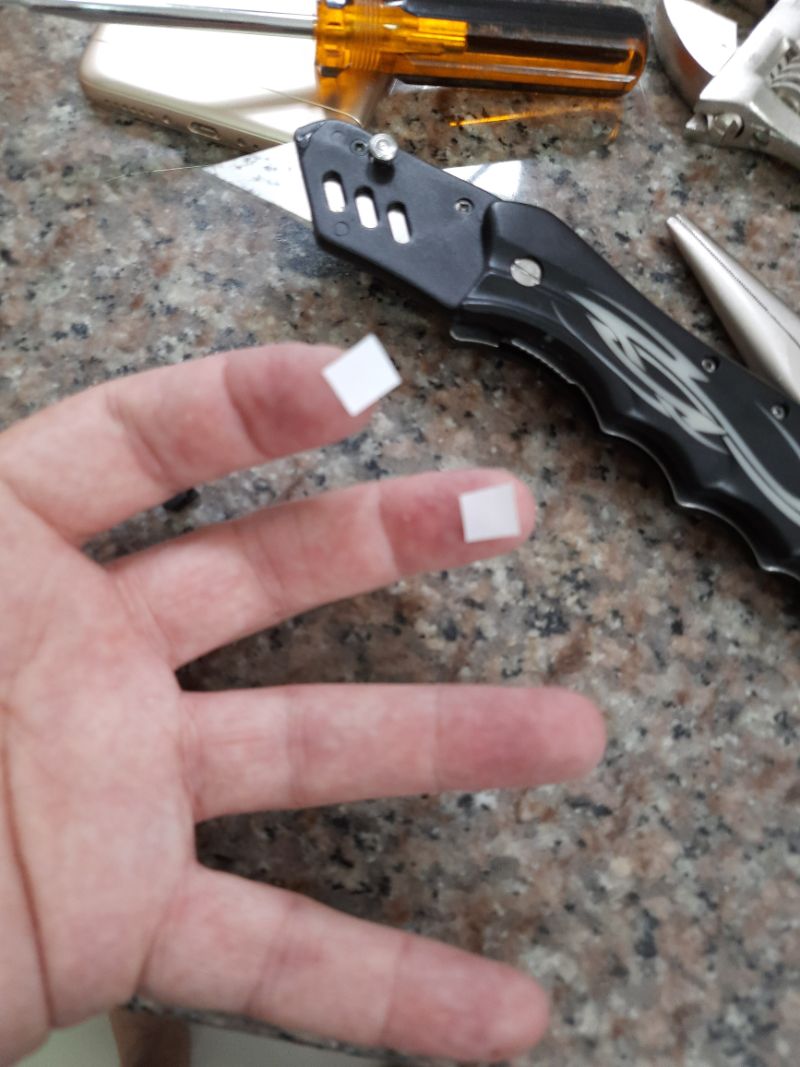
The magnets are strong enough to keep the phone without moving or sliding…..but actually…they are so strong that when I removed the phone they came out from the holder altogether….mmhh….solutions…solutions….solutions. Ha…let me try this. What if we cover them with rubber or plastic so that to slightly diminish the power of attraction and make sure they do not come off when removing the phone? Pronto, I’ve just found a round rubber feet from an old couch….quickly drill an hole for the screw….but then I realize that it is too tight….finally I just give it a little extra cut around with the carpet cutter tool and try again….the surface doesn’t apply evenly as despite being a bit elastic, the circumference oft his rubber disc is a bit smaller than the the metal counterpart. This is why I then decided to try the double sided tape once again. Looks like we have a winner…it worked out just fine.
The lens sheet
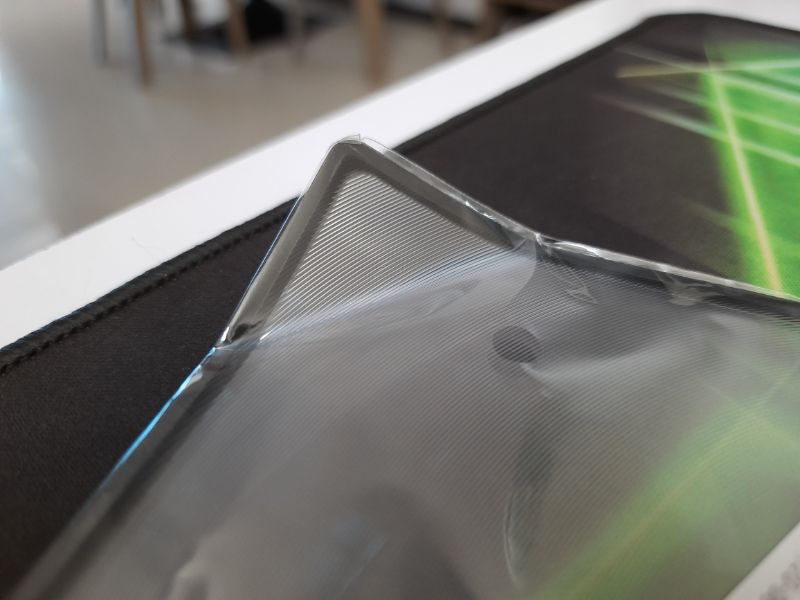
Unfortunately the vendor has shipped the lens sheet without any sort of protective wrapping…one of the corners got bent in a way that nothing can be done to straighten it up again without leaving marks….ho well…I got what I paid for 2 dollars included the shipment…so I cannot complaint too much.
Applying the screen
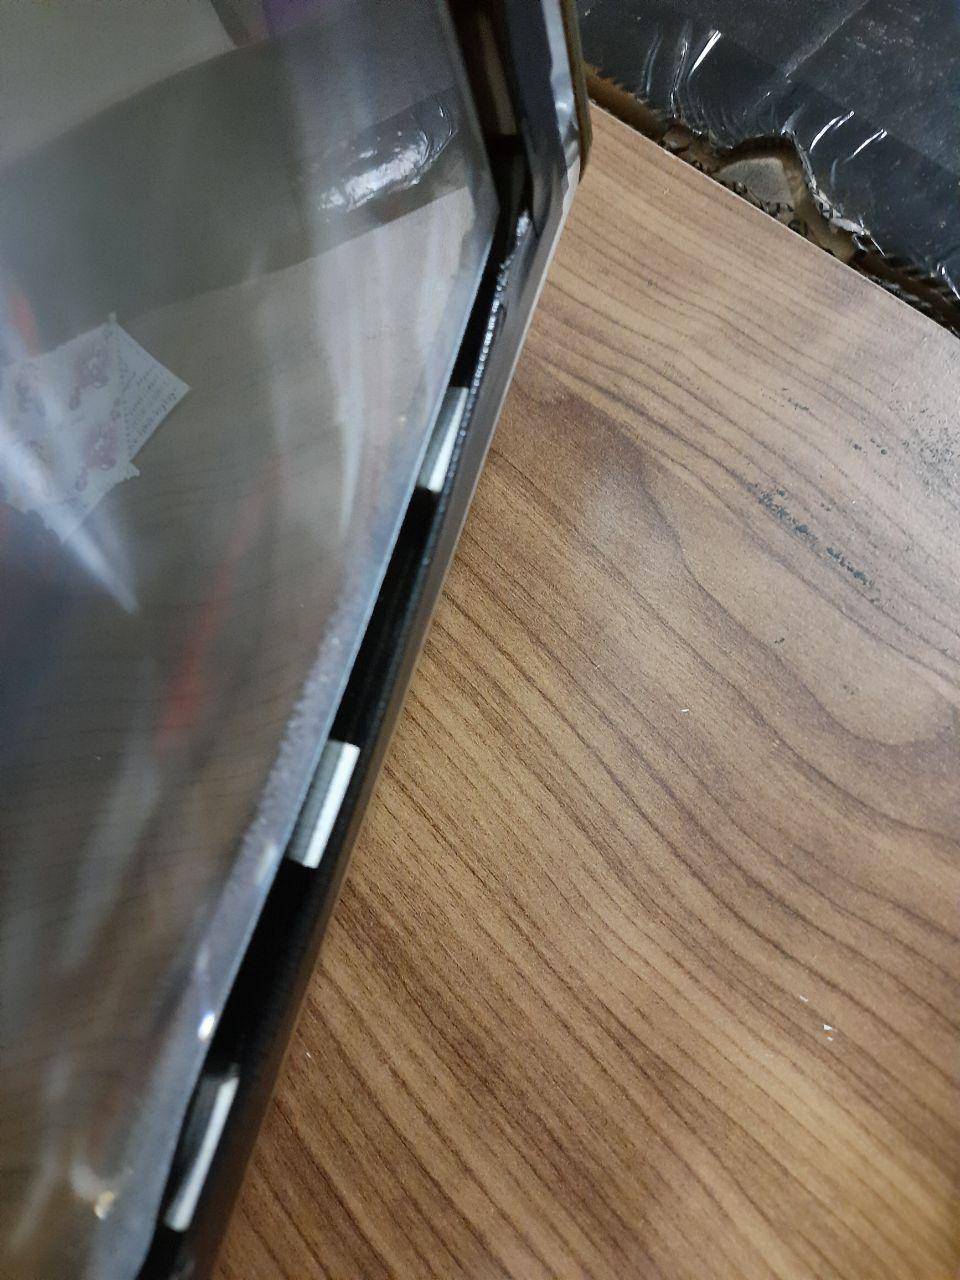
I have used a tick foamy double sided tape from the inside and black electrical tape from the outside. You can see from the photos that it looks unfinished, you are right, I am planning to apply more tape but unfortunately I have run out for today and just ordered some more online which will probably be delivered by next Tuesday.
I did not wanted to wait so I did the tutorial anyway.
Conclusion
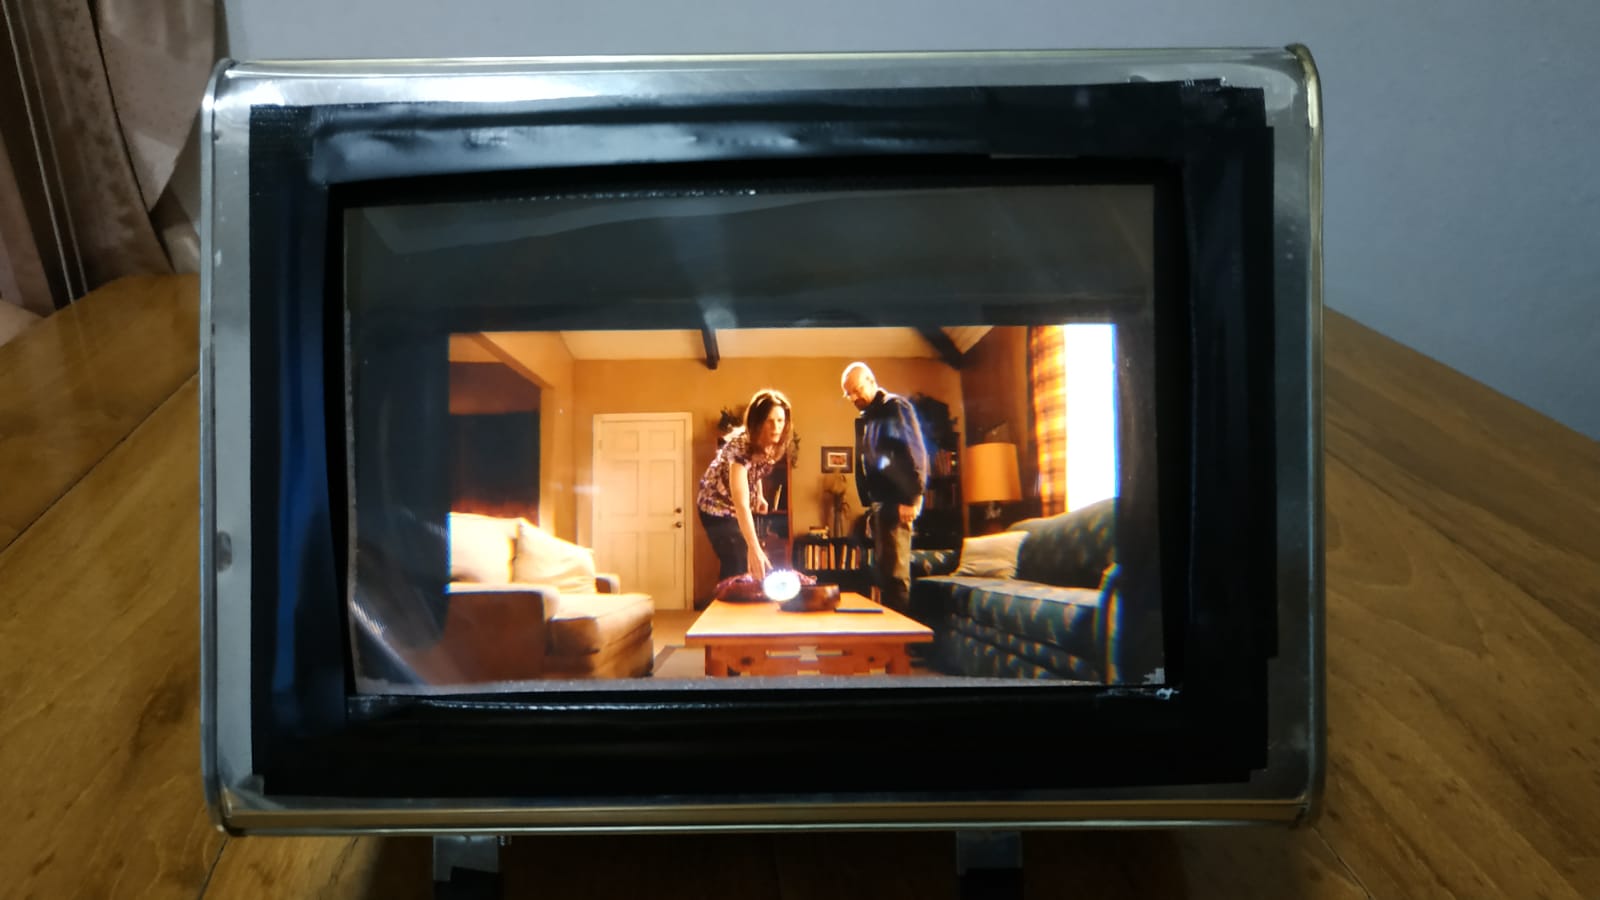
The final outcome is not perfect for sure but it was fun to do it and it also fun to view movies on the TV Box.
CONS
- The magnifier has reflections
- Some artifacts and small ghost effect on the outline of the people in the screen
- Can only be viewed right in front not from an angle
PROS
- It actually makes the picture double of what your current phone is
- After less than a minute watching your brain gets used to it and you do not see many of the artifacts or reflections but only enjoy the images
- It gives you that sensation of 3D because your are seeing trough the lens but the phone is actually more than 10cm away from the screen
- The slightly degraded picture actually remind me of the old cinemas (non digital), when I was about 8 year old on summer camp we used to go to the movies once in a while and that was the type of picture I remember (a bit washed out)….call me old fashioned….but I am in love with analog!
There you have it, considering that it only actually cost me the money for the lens, (all the rest it was already somewhere in my house), the TV box project can be done with just $2.
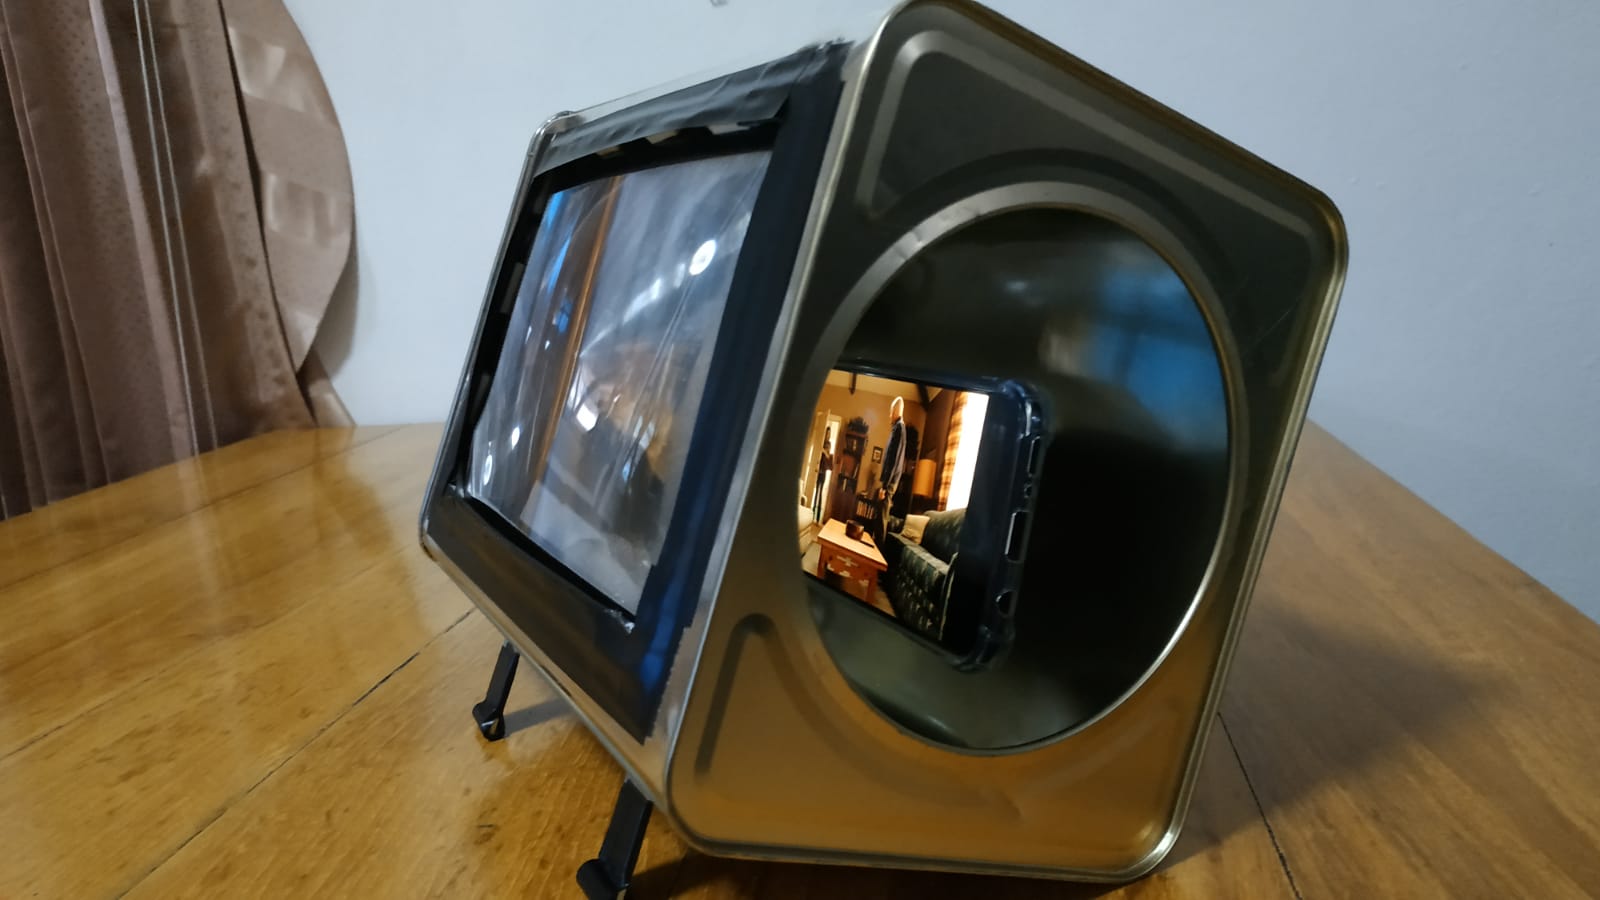
Now….sorry but I got to finish my episode of Breaking Bad…..on my new cinematic TV box…see ya!

Digital Designer, blog writer and also a tech enthusiast.
He loves to write content for blogs, podcasts, design websites, logos, brochures, banners and anything that sends a message to an audience.
You can contact Daniele at the link below:

