

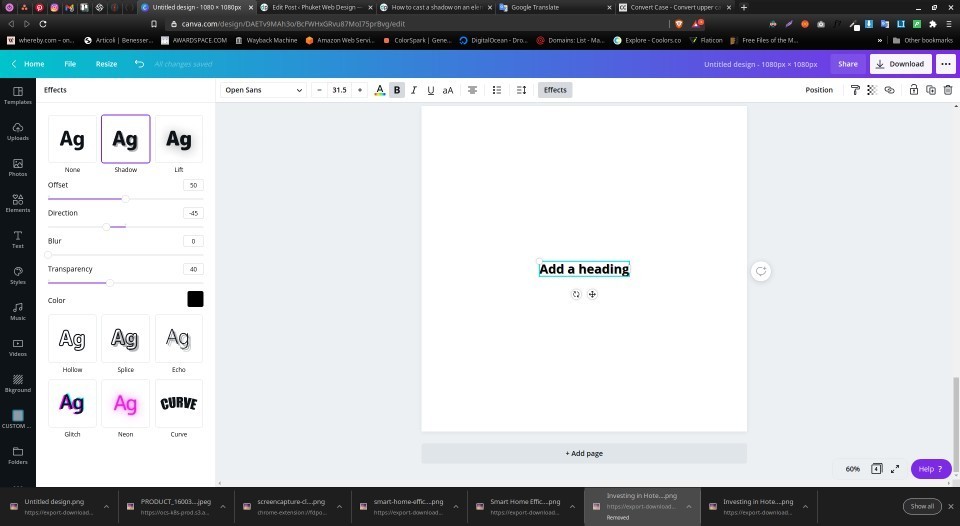
Having issues when the task is to add a shadow in Canva?
Canva recently added a new feature that allows you to add shadow effects to your text. Unfortunately, however, when you want to add a shadow in Canva, whether it is an image or an element this is not possible, or rather, there is no real function. It is true that with elements such as the square, the rectangle etc you can create a copy, position it behind the object and give it a certain transparency that gives an impression similar to a shadow, but … what to do when you want to create a shadow that respects a certain perspective and is not an exact copy of the element in question?
When the light is projected in a certain way, the shadow released by the object in question is projected precisely with a perspective and therefore will be of a flattened, elongated shape and so on. All this happens because the angle from which the light comes can be more or less high and therefore we say that if it is high as if it falls at noon (with a couple of degrees to the side) it would be fine because for example on a square-shaped element also the shadow would be almost identical.
However the same element, if it were to be photographed or drawn with a natural light, for example at four in the afternoon, would have a completely different shade as the source of light (in this case the sun) would no longer be above the element but would be one side and with a lower inclination and therefore the shadow itself would be as if it were “deformed”, a little squashed and bent on one side.
Canva does not have this function, which is actually found in 3D drawing programs such as “Blender”, so it is also normal not to find it in Canva as it is an online drawing program oriented mostly for 2D design.
Well in any case, if you do want to add a shadow in Canva and you want this to be realistic, you can find solutions of the type that we are going to see today here in this simple tutorial. So in today’s tutorial we have the task of having to create an image for an advertising and we need a bottle of milk (which we already have) but we want to create a shadow so that it looks more realistic.
We will use Gimp to create the shadow, and here is how we are going to do it in quick steps.
PS: I am giving for granted that our viewer has a minimum of experience with design software such as gimp, inkskape or photoshop, however, if is not your case you are welcome to post your questions and I will be glad to help you out.
PS: You can click on any of the images to enlarge them.
STEP 1 – PREPARE THE BASE ELEMENT
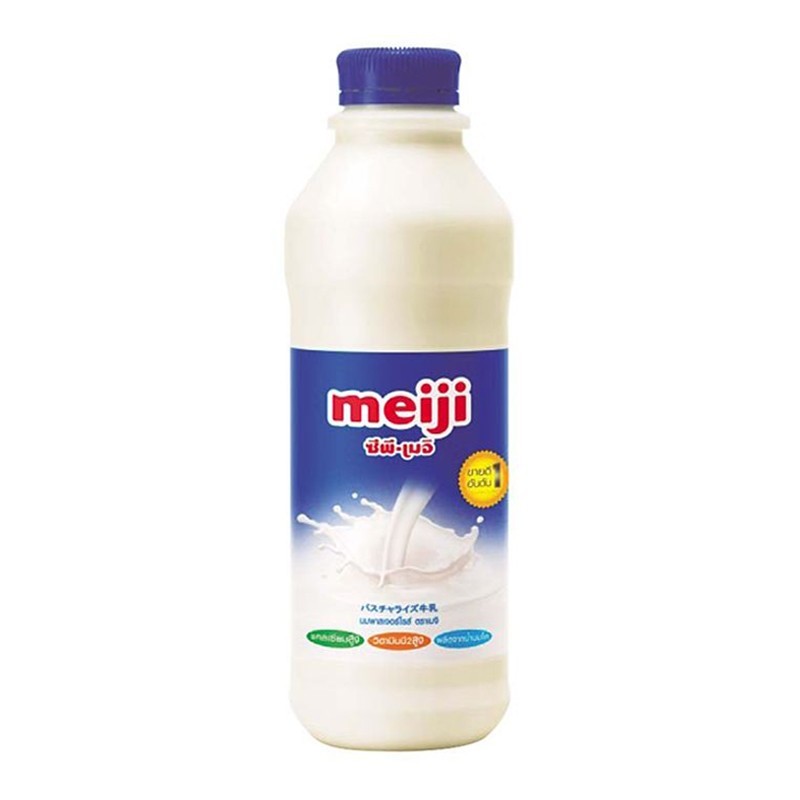
STEP 2 – REMOVE THE BACKGROUND FROM THE MAIN ELEMENT

STEP 3 – SELECT THE “PERSPECTIVE” TOOL
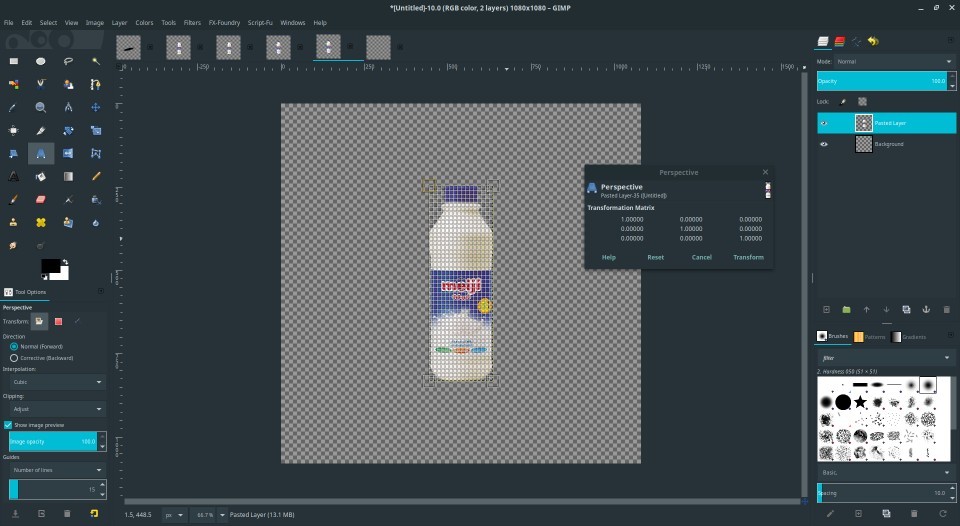
STEP 4 – MODIFY THE IMAGE BY DRAGGING THE TOP CORNERS DOWN
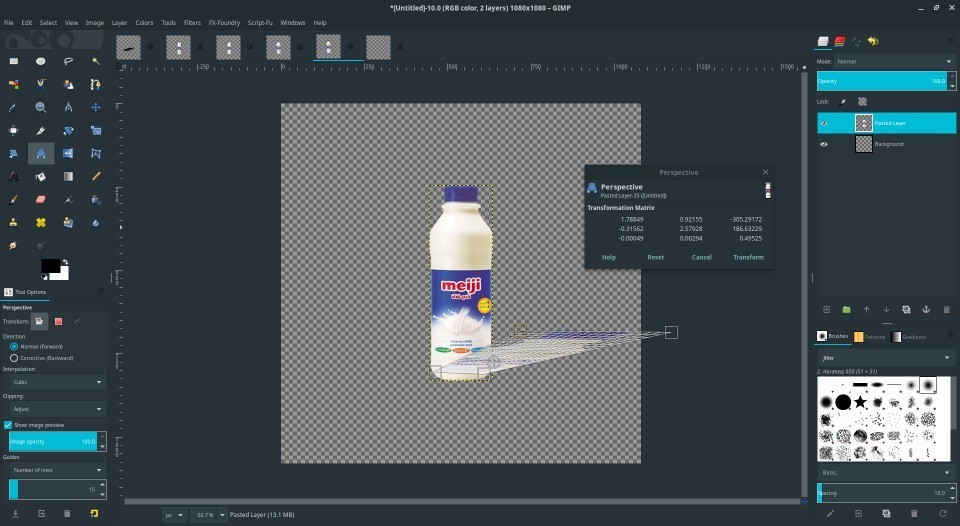
STEP 5 – APPLY THE CHANGES

STEP 6 – USING THE COLORIZE TOOL BRING THE BRIGHTNESS DOWN SO THAT TO REMOVE THE COLOR AND HAVE A BLACK IMAGE

STEP 7 – EXPORT THIS NEW IMAGE AS PNG TRANSPARENT AND IMPORT IT TO CANVA UPLOADS TOGETHER WITH THE ORIGINAL BOTTLE OF MILK
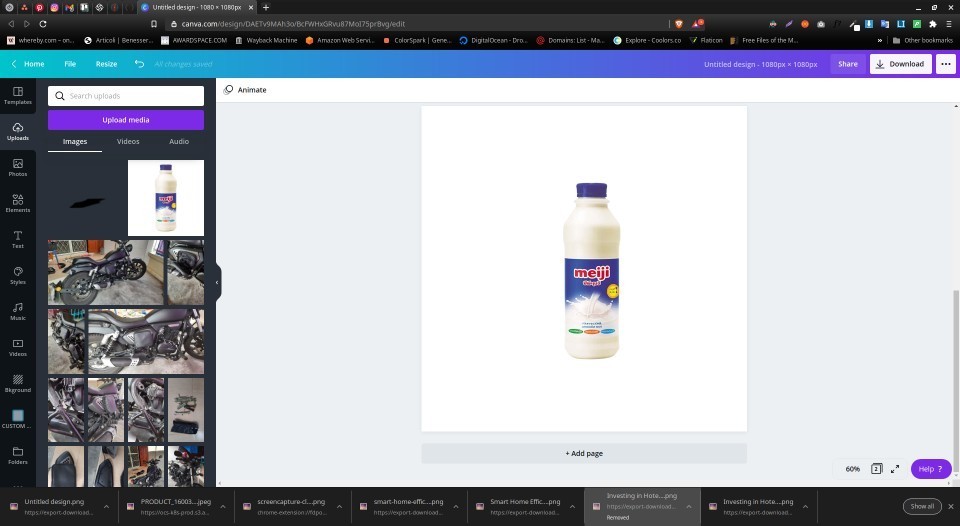
STEP 8 – ALIGN THE TWO IMAGES
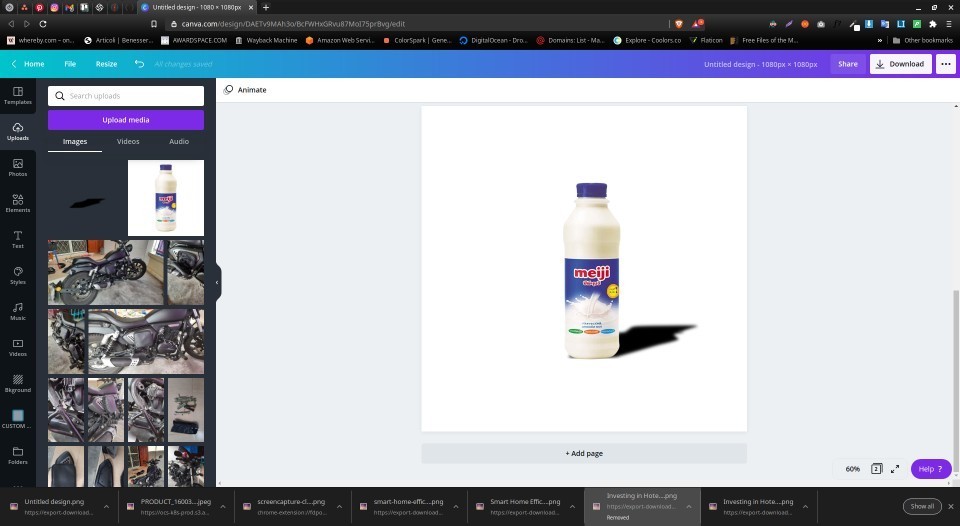
STEP 9 – LOWER THE TRANSPARENCY FILTER

At this point we have almost done, However, you will notice that the shadow is a bit to “squarish” in the lower part. For this we are quickly going to use the ellipse tool in Gimp and create an extra shadow that will help both to smooth the corners if the main shadow and also reinforce the lower part of the bottle.
STEP 10 – BACK ON GIMP CREATE A SQUARE TRANSPARENT CANVAS
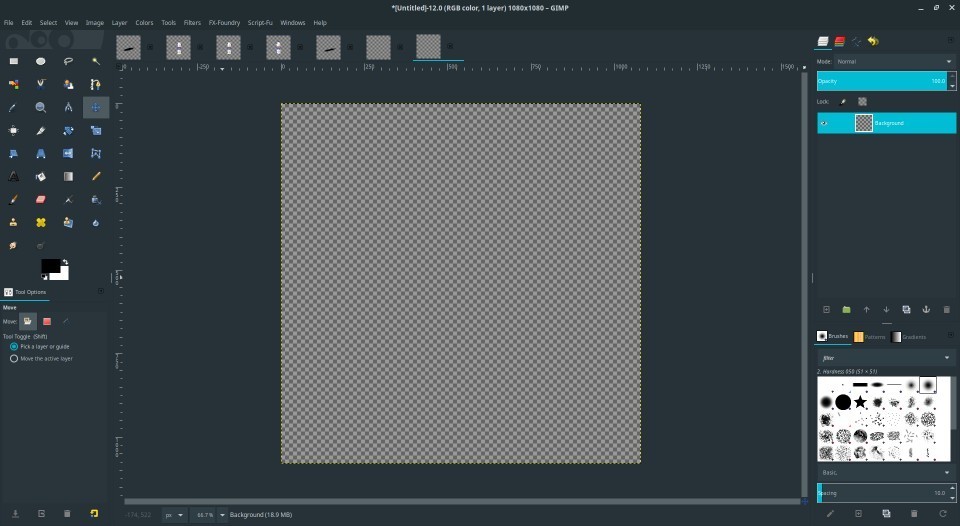
STEP 11 – NOW SELECT THE ELLIPSE TOOL AND DRAW A “SQUASHED” ELLIPSE AS IN THE IMAGE BELOW

STEP 12 – ADD A FOREGROUND BLACK LAYER AND ONCE SELECTED FORM THE LAYERS LIST CLICK CTRL+I (OR SELECT > INVERT FROM THE TOP MENU)
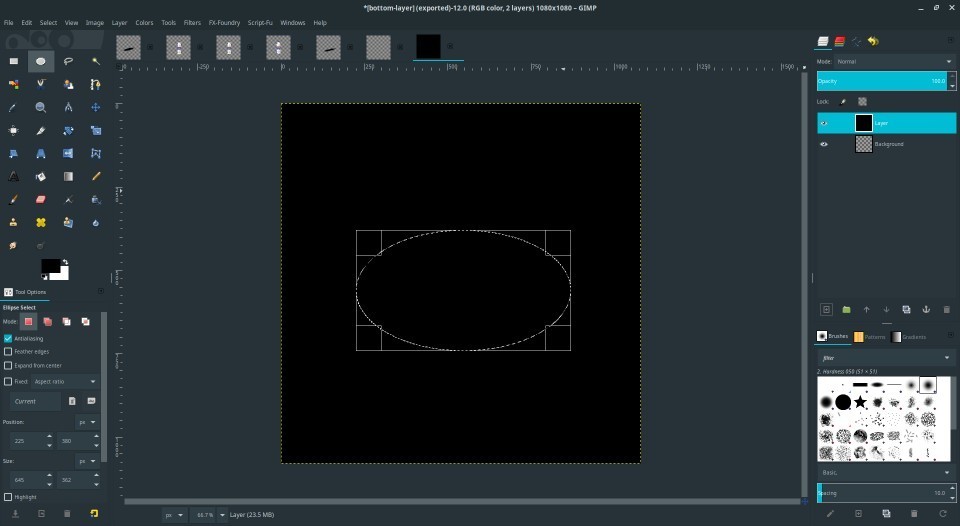
STEP 13 – NOW PRESS DELETE SO THAT YOU REMOVE THE OUTER PART OF THE IMAGE
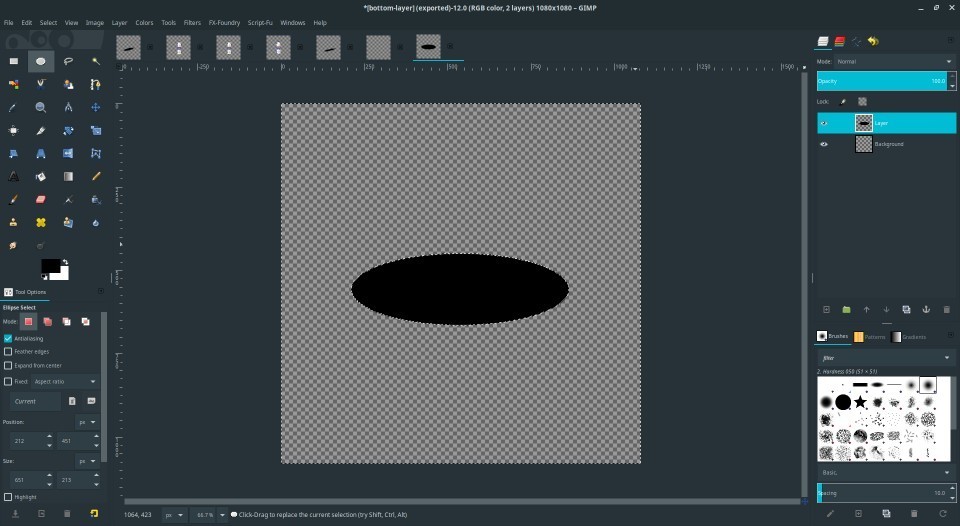
STEP 14 – EXPORT THIS NEW IMAGE AND IMPORT IT IN CANVA

STEP 15 – RESIZE THE NEW IMAGE AND POSITION IT IN THE LOWER PART OF THE SHADOW
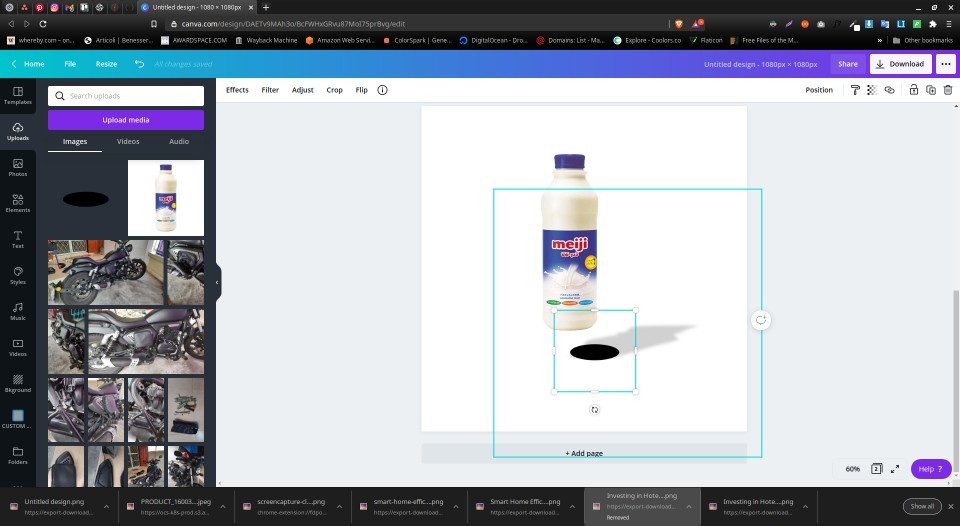
STEP 16 – ALIGN ALL THE OBJECTS AND PLAY WITH THE SIZES OF THE SHADOWS UNTIL YOU ARE SATISFIED
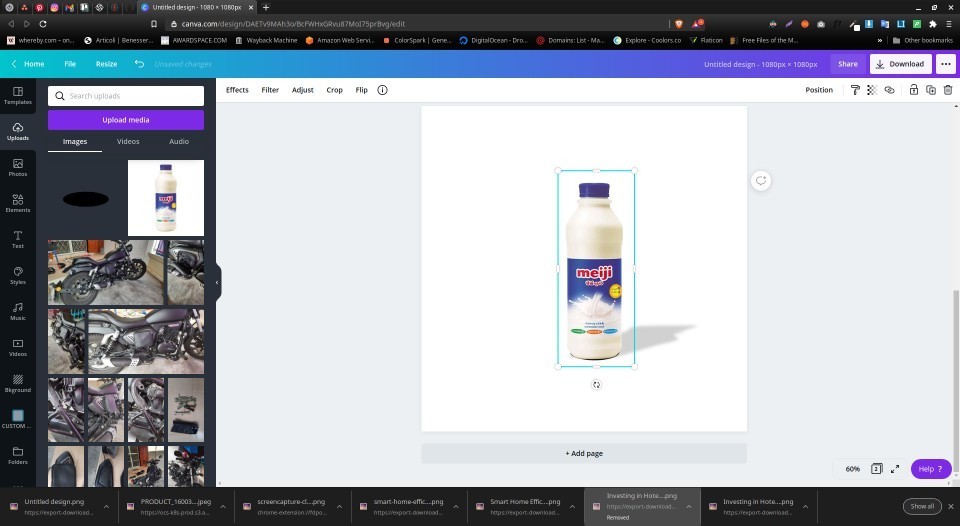
STEP 17 – BRING DOWN THE TRANSPARENCY LEVELS OF THE ELLIPSE SHADOW SO THAT TO BE EQUAL TO THE MAIN SHADOW IMAGE AND YOU ARE DONE. THE SHADOW IS NO LONGER “SQUARISH” BUT SMOOTHER.
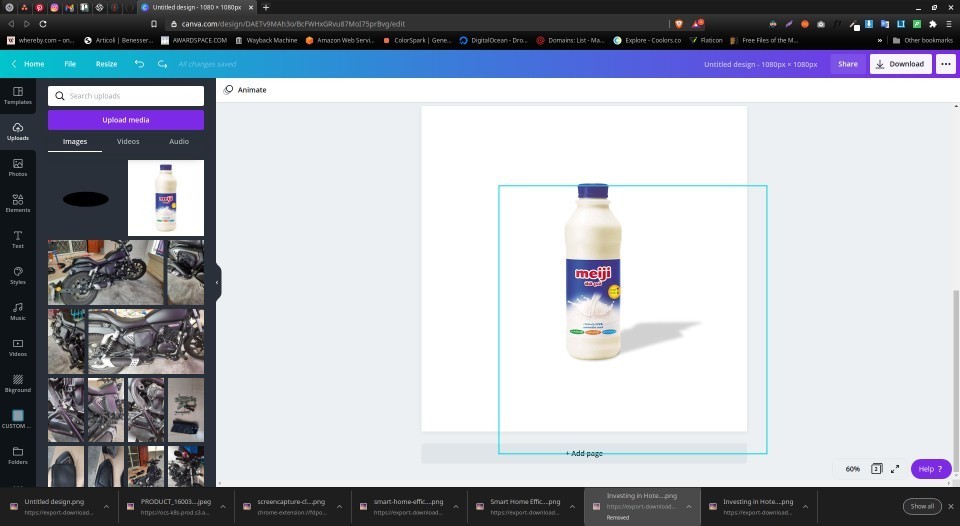
Now as a final touch you can add a background of your choice to the main canvas. You can add a solid color, a photo or just a gradient. That is entirely up to you.
STEP 18 – WITH DIFFERENT BACKGROUNDS
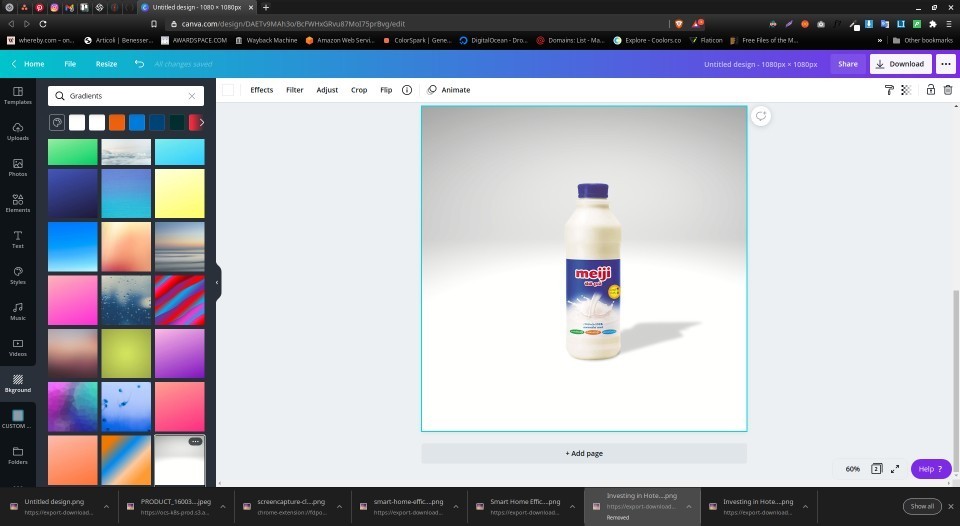
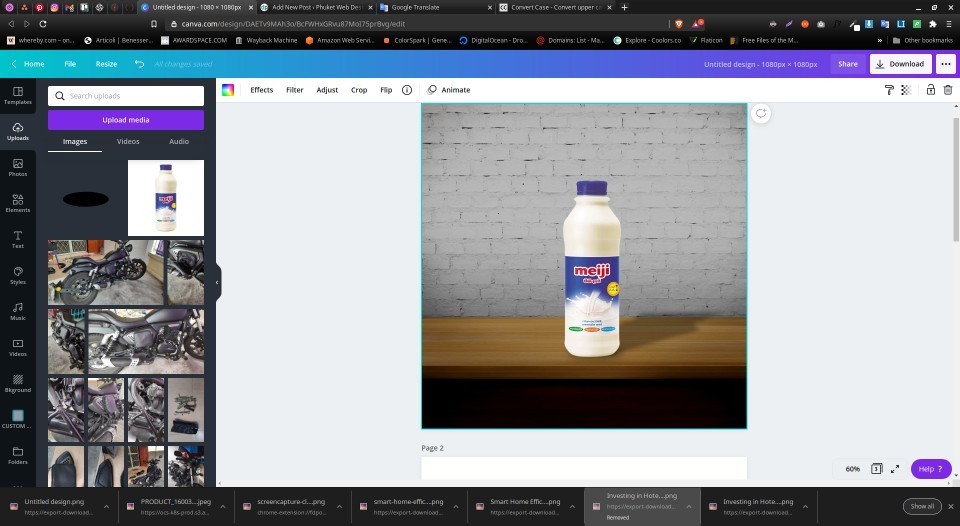

There you have it, you can test with different objects. Also, if you want, in order to have an idea of the shape of a shadow, you can take objects in your house and see how their shadow looks when the light comes from one side or the other. This will give you an even better understanding and it will be just a mater to replicate in Gimp or any other design software of your choice what you have seen in real life.
DISCLAIMER
I am not endorsed or affiliate nor I take compensation from either Canva or Gimp. Both software rights belong to their respective owners. I just happen to like them both and use them whenever needed.

Digital Designer, blog writer and also a tech enthusiast.
He loves to write content for blogs, podcasts, design websites, logos, brochures, banners and anything that sends a message to an audience.
You can contact Daniele at the link below:


